Valentine Pocket Card by Nancy

Hello, everyone!
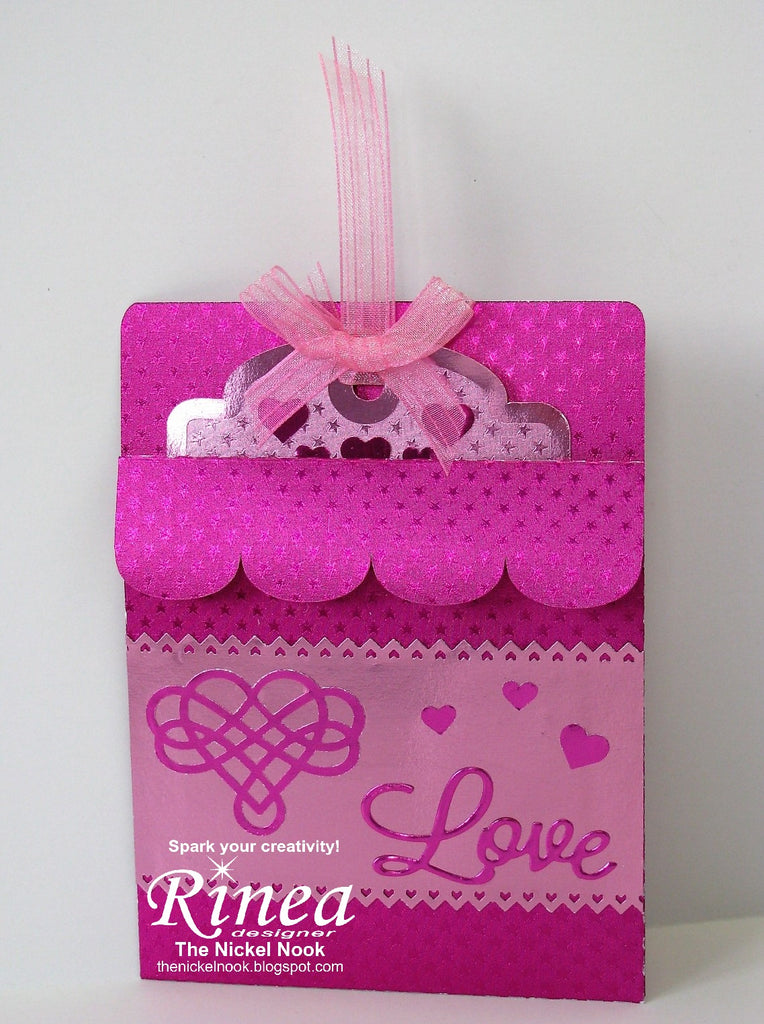
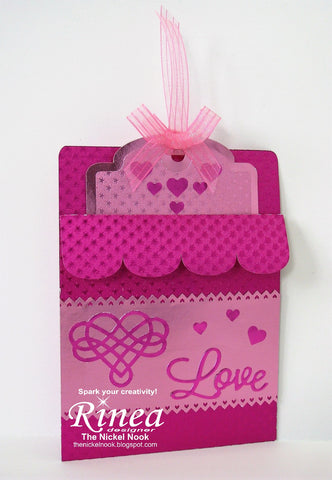
It's Nancy here with a fun new project tutorial! I'm going to show you how to make this great Valentine Pocket Card, using these fabulous foiled papers!
I'm using the "Love" collection for this project.
Here's how I did it:

Materials Used in this Project:
Love Foiled Paper Variety Pack;
Cut File: My Scrap Chick - Library Pocket Card;
Punches: Martha Stewart - Filigree Heart, Mini Hearts,
EK Success - Arrow Border Punch;
Die: Love Word;
White Cardstock;
Ribbon: Celebrate It.
1. Using the variety of foiled papers in the variety pack, I cut out the file, as shown in the photo. I cut multiples of a couple of them because I wasn't sure which one I would use.
2. From the white cardstock, I cut one tag panel and one circle.

3. I then punched the filigree heart and the mini hearts, and die-cut the "Love", all from the Fuchsia/Gold Glossy Foiled Paper in the Variety Pack.
4. I assembled the pocket, as per the file instructions.
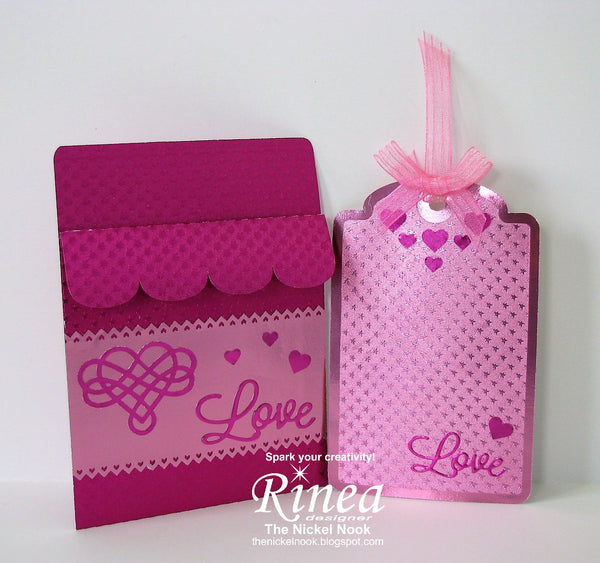
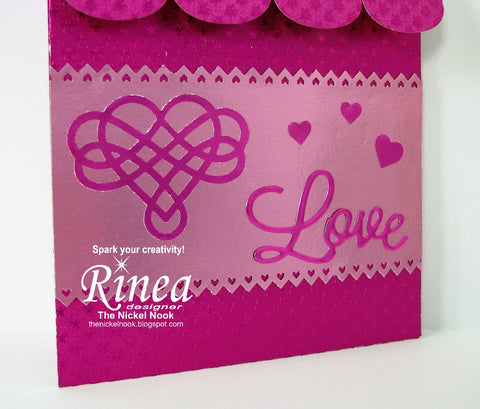
5. I decided to use the Blush/Gold Glossy Foiled Paper front pocket panel. I used the border punch along both long ends and then adhered it in place. I then added the filigree heart, the "Love", and several hearts, to the front panel. The pocket is finished.
6. I used the tag cut from the Blush/Gold Glossy Foiled Paper, and the tag panel cut from the Blush/Blush Starstruck Foiled Paper. Once they were adhered together, I added the small "Love" and several mini hearts.
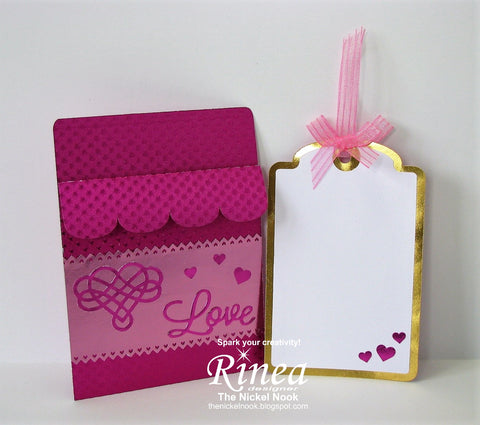
7. To the back of the tag, I added the white cardstock tag panel, embellished with some more mini hearts. This offers a great spot to stamp/write your sentiment.
8. Finally, I looped a pretty ribbon through the tag hole and added a little bow to each side.
Here's a closer look at the pocket detail:
These foiled papers make a lovely project extra special! :o)
Thanks so much for stopping by today!
I'll be back soon with another fun project!
* * * * *

