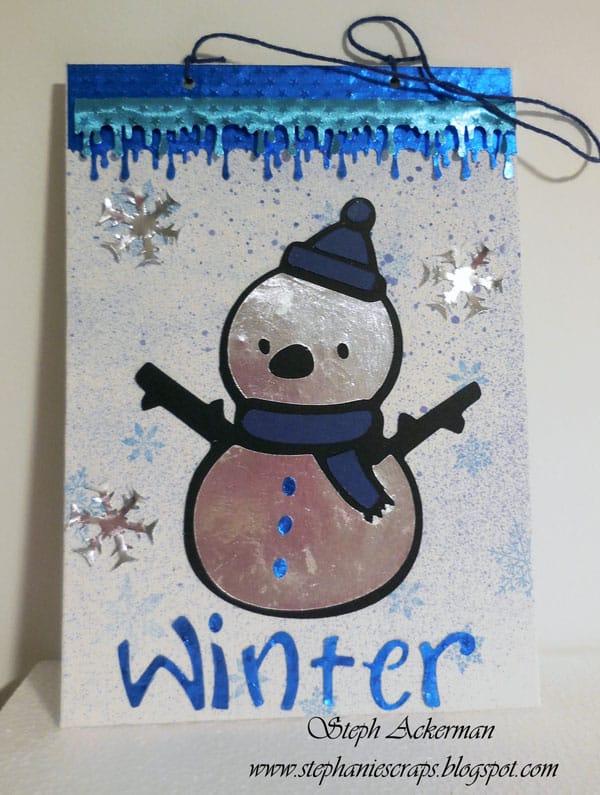
Snowman Canvas Panel

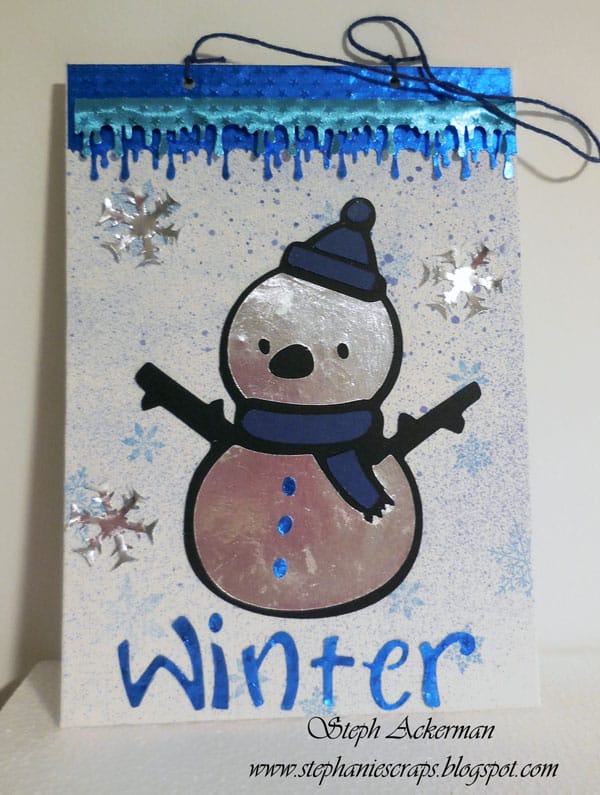
Hi everyone, Steph Ackerman here today with a snowman canvas using Rinea Foils in a variety of ways.
Supplies:
Rinea Foils - Glossy Silver Foil; Embossed-Blue, Light Blue
Tattered Angels Glimmer Mist
Joy Clair Stamps
Cricut Expression
Sizzix Dies
EK Success Punches
Whisker Graphics Twine
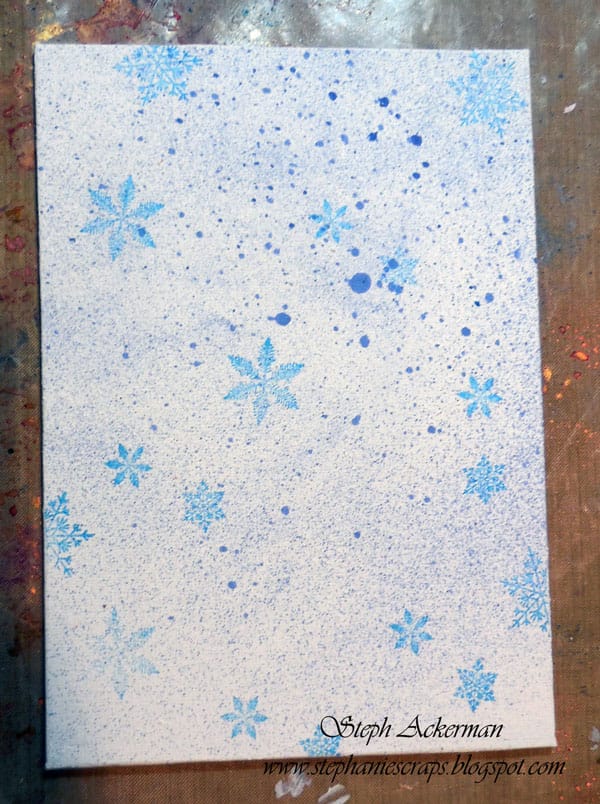
I began by spritzing a canvas panel with Tattered Angels Glimmer Mists. Once dry, I stamped an assortment of snowflakes from Joy Clair Stamps about the panel.
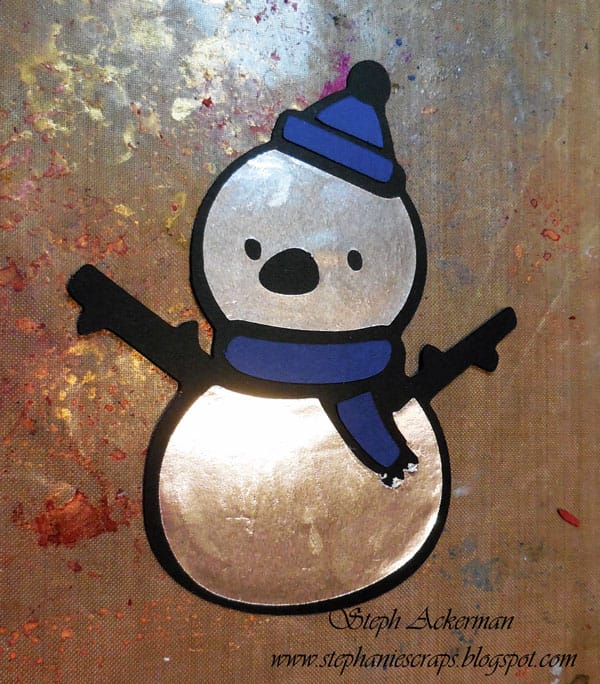
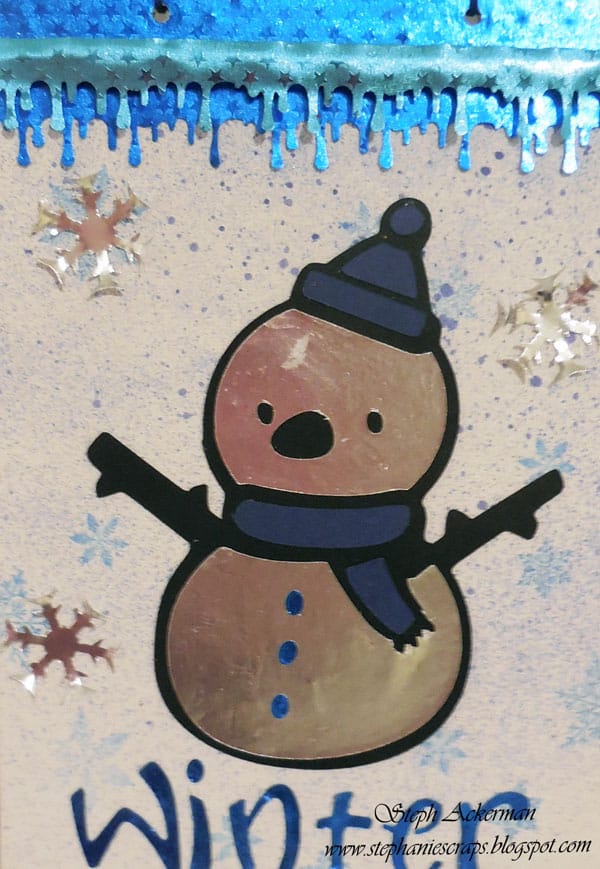
Next, I used my Cricut Expression to die cut a snowman from Glossy Silver Foil. I used a pressure setting of medium and a cutting speed of high. Other than the tiny edges of the scarf, the foil cut beautifully. Plus, I used an older mat that was not too sticky. The foils easily came off the mat. I find that a mat that is too sticky does not allow the foils to be easily released.
I die cut a snowman from black cardstock to use as the base, then adhered the silver foil pieces on top. To finish I also die cut a blue hat and scarf.
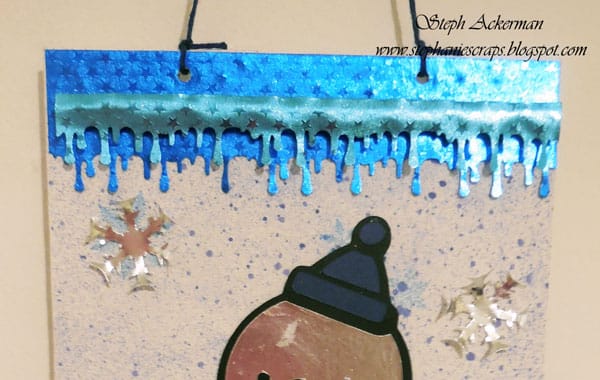
Using a border punch, I punched 2 layers of "snow drips" from 2 colors of Embossed Blue and Embossed Light Blue Foils. After adhering the Blue Foil to the canvas, I used foam adhesives to adhere the Light Blue Foil on top. The foil cut easily with the intricate punch!
Next, I used a smaller punch and die cut snowflakes from the Glossy Silver Foil. Again, the foil cut easily and without a problem. Finally, I die cut winter using Sizzix dies with the Blue Foil. Again, I had absolutely no issues die cutting. I even die cut additional dots from the "i" to use as the snowman's buttons.
To finish I punched two holes in the top and added twine for the hanger.
I used an assortment of tools with these foils and love how they all worked with the foils.
Thanks for stopping by today.
Steph
Thanks for stopping by today.
Steph
Spark Your Creativity!

