Snow Day Mini Album by Steph

Hi everyone, Steph Ackerman here today sharing a mini album. This 4x4 chipboard album is perfect to showcase a specific event. In my case, I chose to document a snow day.

Start by cutting Sapphire/Gold Glossy Foiled Paper to fit each panel.

Next, cut Silver/Silver Starstruck as well as another layer of Sapphire/Gold Glossy Foiled Paper smaller and adhere together on each panel.

Punch snowflakes from Silver/Silver Starstruck and Turquoise/Gold Glossy Foiled Paper. The foiled papers punch out easily and in this case, created amazing snowflakes.

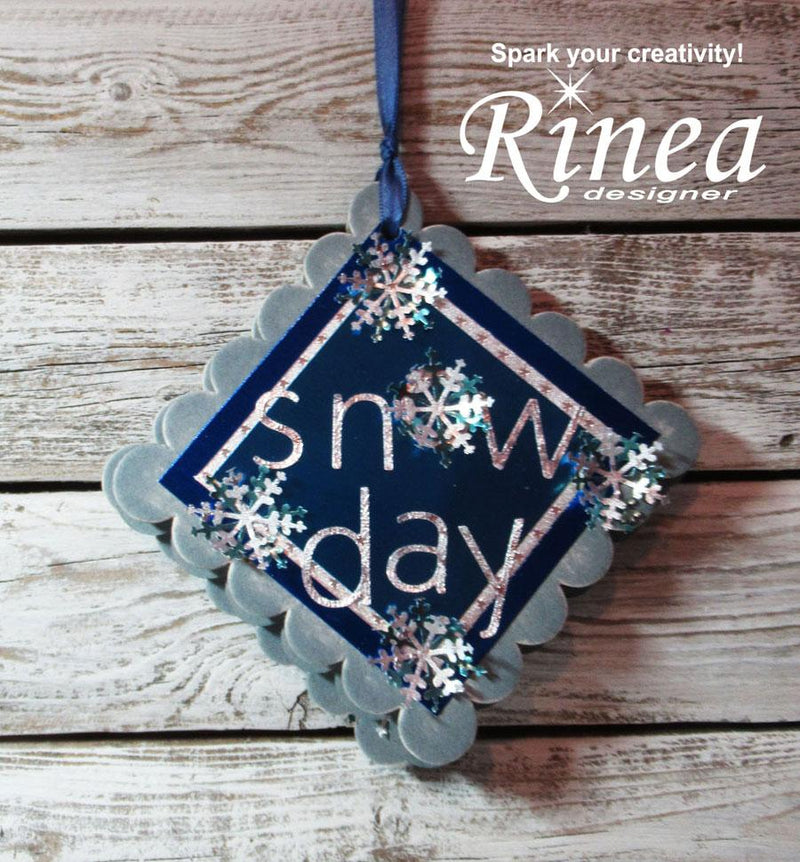
Die cut letters spelling snow day from Silver Starstruck and adhere to the front cover. Glue snowflakes together and adhere about the front cover, using snowflakes for the "O".

Cut and adhere photos to each panel, adding additional snowflakes to each panel.

Punch holes in each panel and tie together with ribbon that is also used as the hanger.

Hang up and enjoy.
Thanks for stopping by.
Steph