Creating An Amazing Tattered Steampunk Inspired Hot Air Balloon
by Roni Johnson

Hello! Are you ready for an adventure?
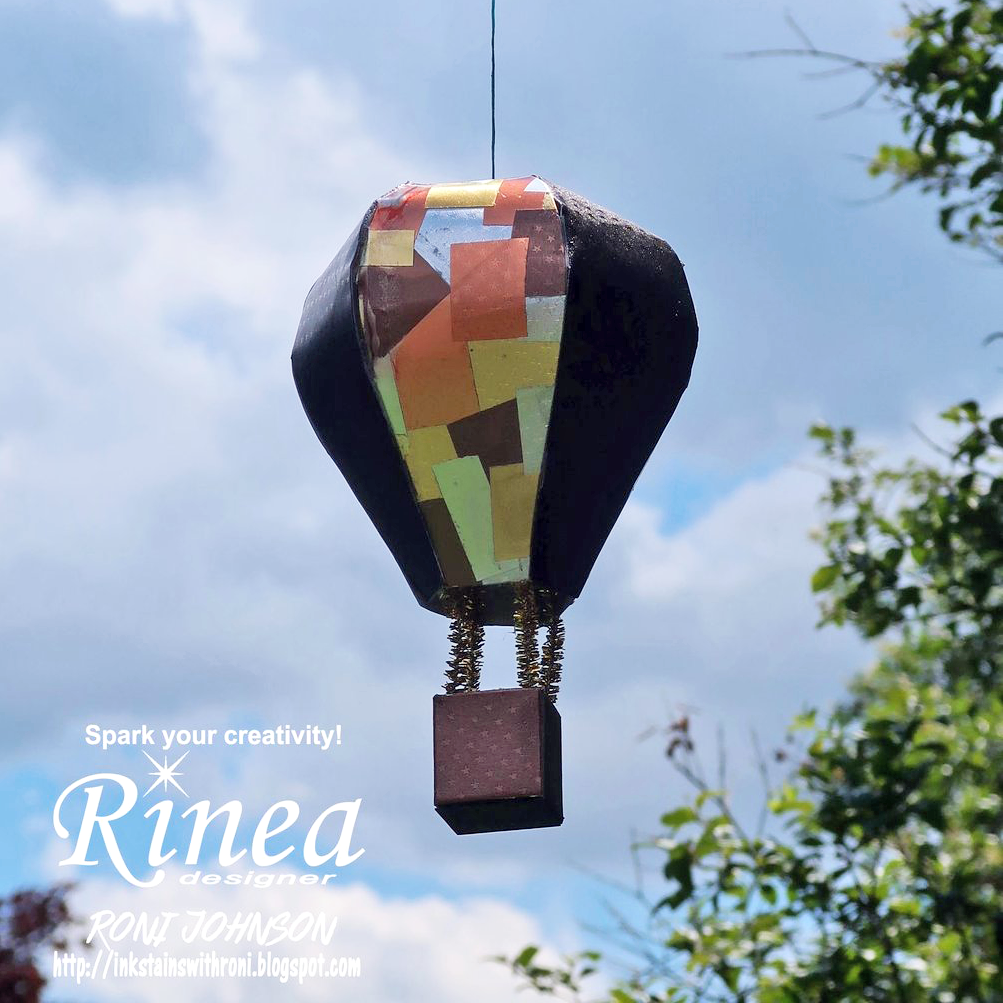
Let's take a ride in my Steampunk inspired hot air balloon!!
Such a fun 3D project, sure to inspire the imagination in all of us.
This is a great little piece of decor for virtually any theme/color scheme in your house. I choose to use the Metallics Foiled Variety Pack with the addition of Mocha/Mocha Starstruck and Ebony/Ebony Starstruck but of course, you can mix and match Rinea foiled papers to your heart's content.
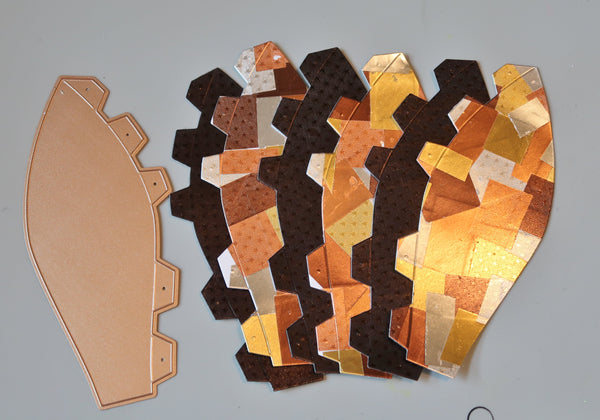
Note: I am using the Spellbinders Hot Air Balloon S5-304 die set for the example but you can google Hot Air Balloon Template and come up with hundreds of examples to hand cut or SVG cutting files.
Step 1 - Adhere a sheet of Ebony/Ebony Starstruck foiled paper to a piece of plain cardstock. Cut (by hand, die, or machine) three panels.
Step 2 - Cut up scraps of foiled paper (I used scraps from the Metallics Variety Pack) and glue them down in a random pattern to a piece of plain cardstock. Cut 3 panels.
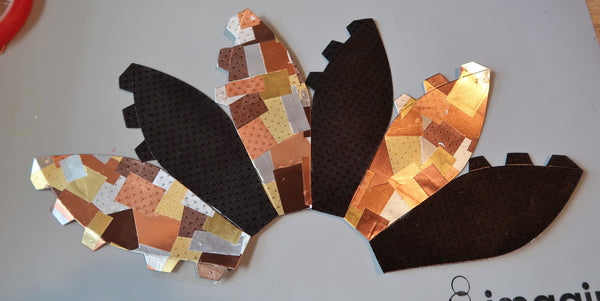
Step 3 - Use red line or other strong double-sided tape applied to the bottom tabs to affix the panels together.
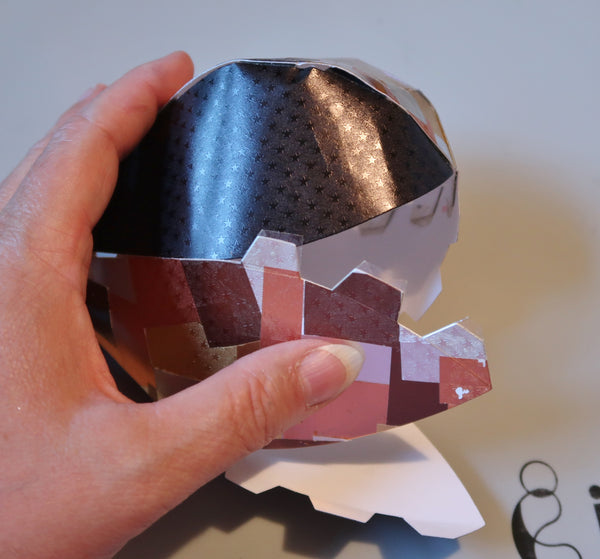
Step 4 - Use the double-sided adhesive on the upper tabs to close the balloon. This is best accomplished by aligning the top of the balloon first then affixing the two lower tabs after. I know it sounds crazy but it really does give you the best finished looking balloon.
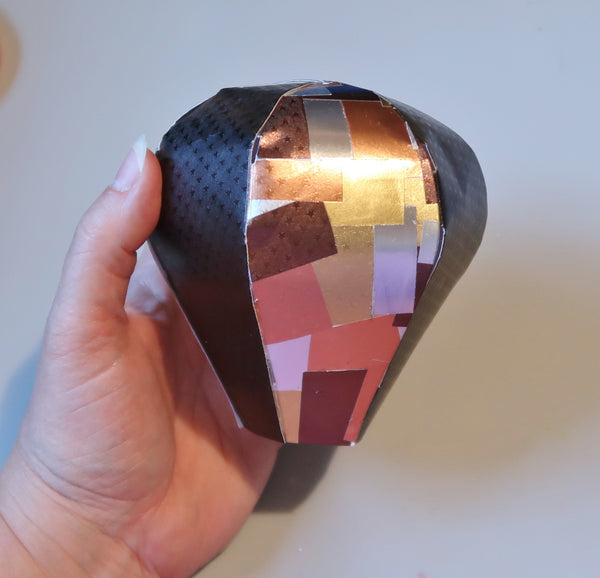
It's amazing how easy it is and it turns out looking great!
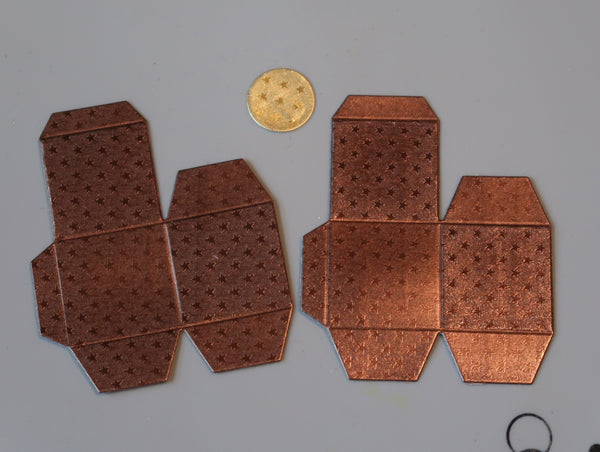
Step 5 - Cut two basket pieces and one center cover.
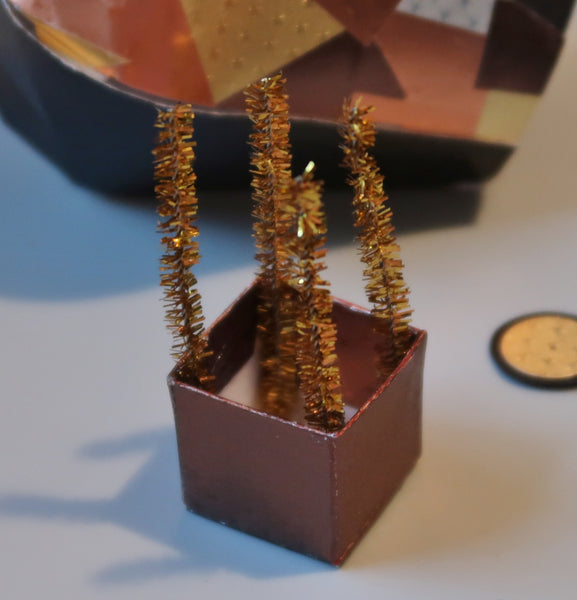
Step 6 - Assemble the basket using a strong double-sided tape.
Step 7 - Cut 4 - 3" long pieces of pipe cleaner and glue one into each corner of the basket, set aside to dry.
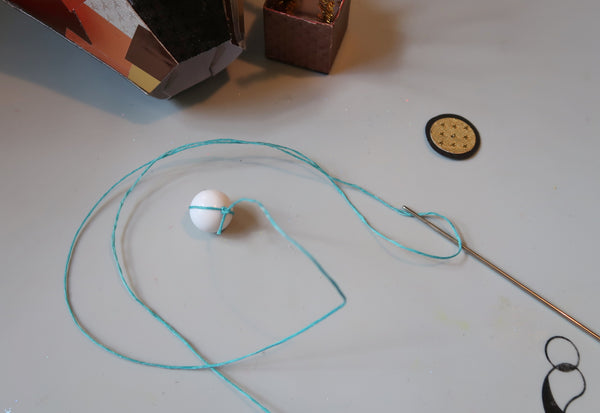
Step 8 (Optional) - If you would like to hang up your hot air balloon you need a hanger. Thread wire, thread, jute, etc onto a long (doll making) needle. Tie a bead onto one end, thread the needle through the top of the balloon so that the bead is on the inside of the balloon.
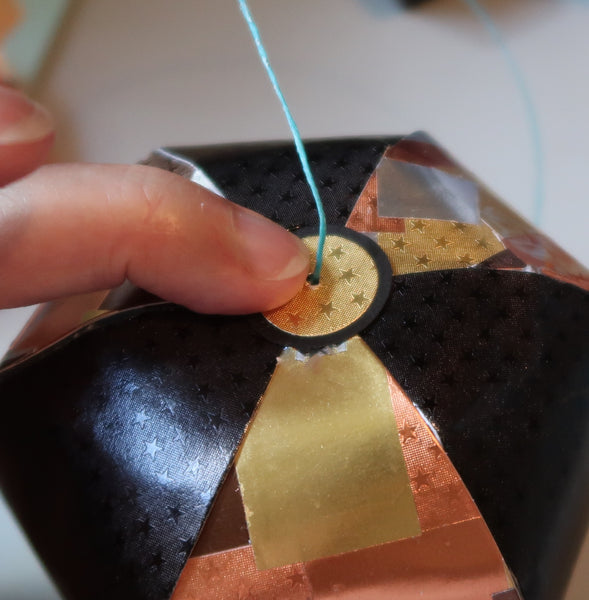
Slip the round balloon cover through the needle and glue it to the top of the balloon.
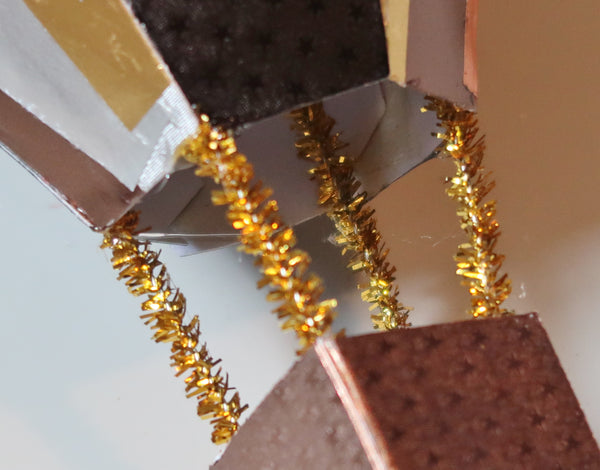
Step 9 - Glue the basket to the balloon.
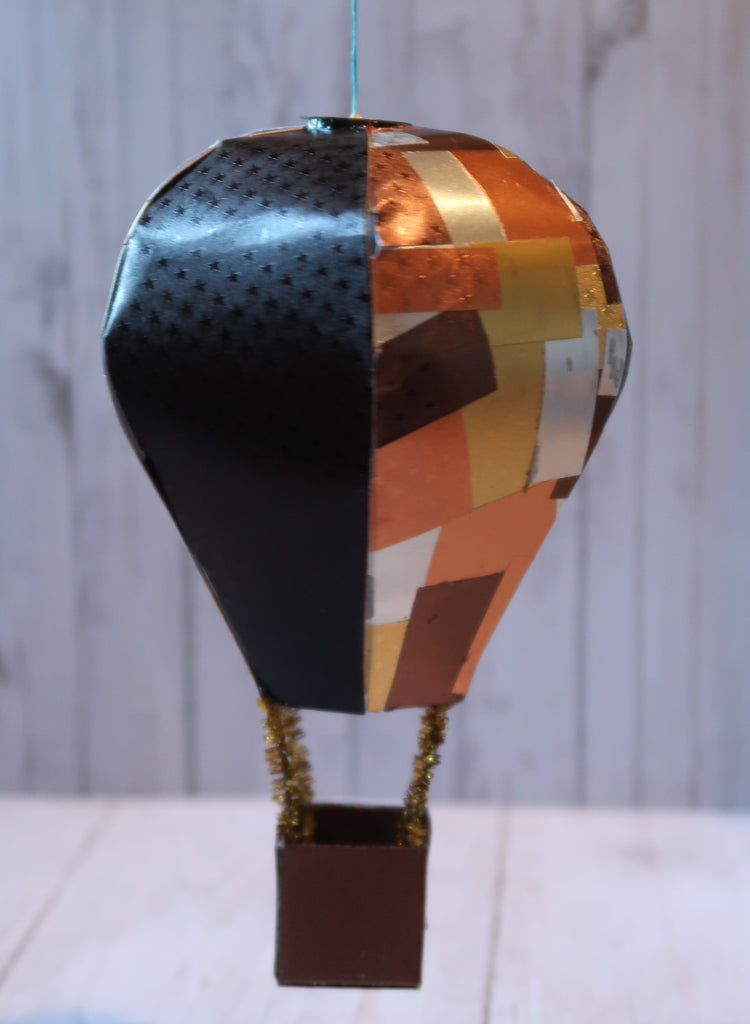
And you're all set to begin your journey!!
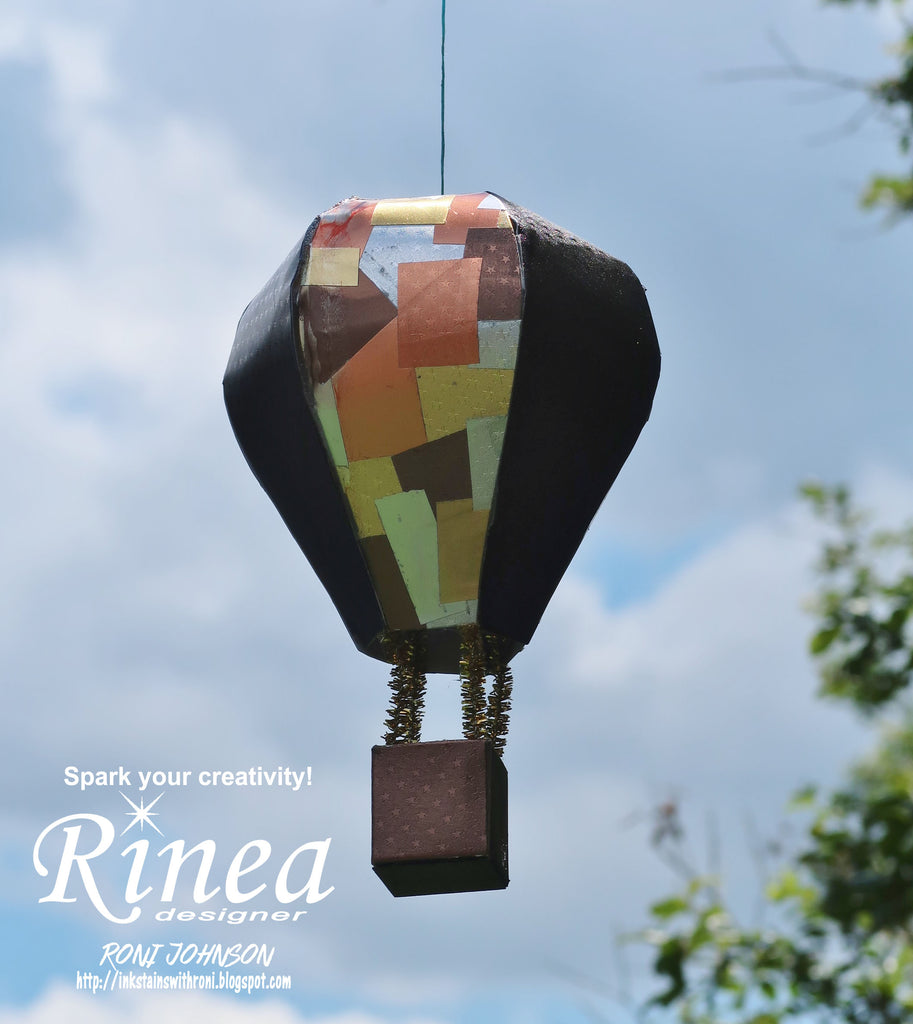
Supplies:
Spellbinders Hot Air Balloon Die
Beacon 3 in 1 Adhesive
Cardstock, Pipe Cleaner, Red Line Tape
