DIY Paper Owls Are The Perfect Kids Crafts by Roni Johnson

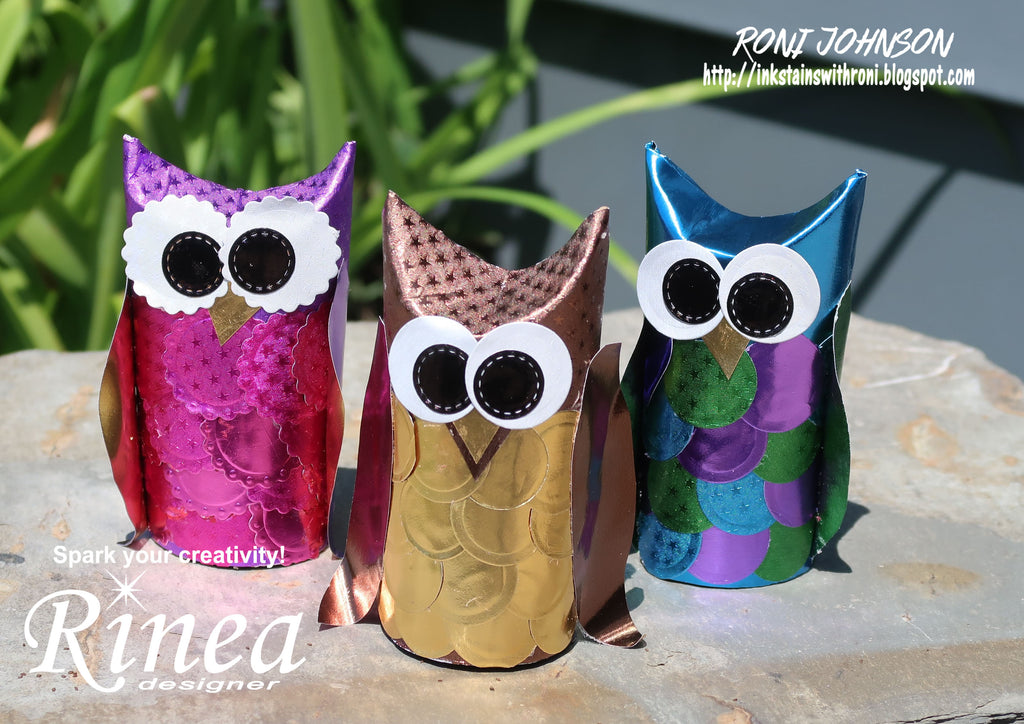
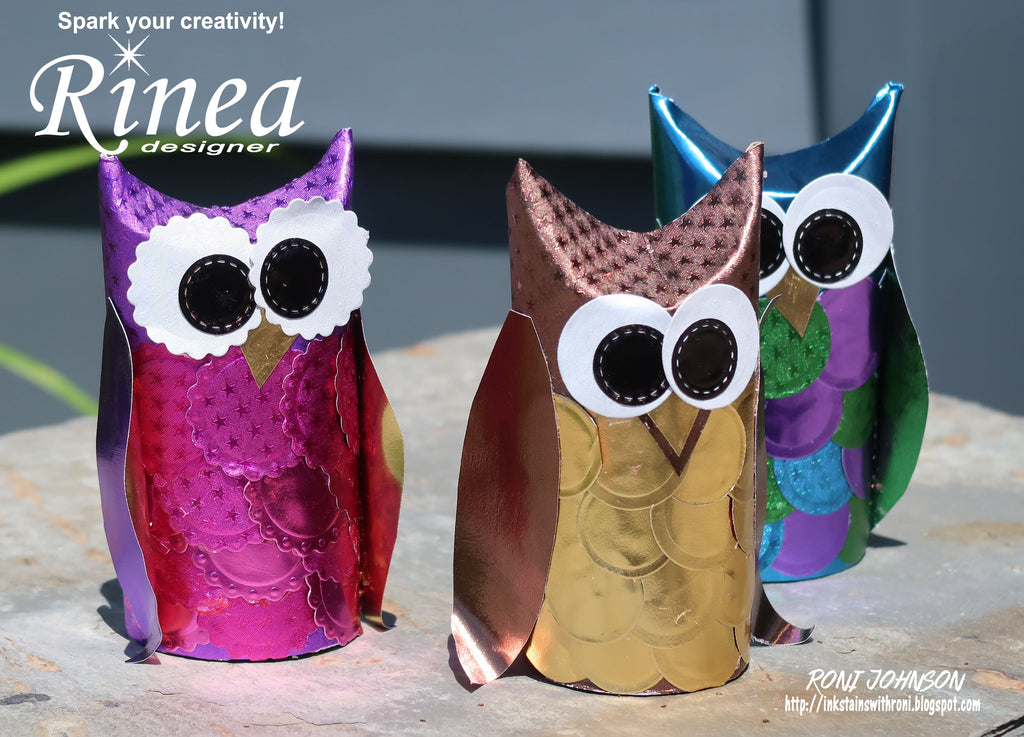
Trying to find ideas to keep the kiddo's busy? Well, how about these darling toilet paper owls? They are quick to prep and so easy to make, you'll have a parliament of owls (yes, that's what a group of owls is called). Start saving your empty TP rolls now.

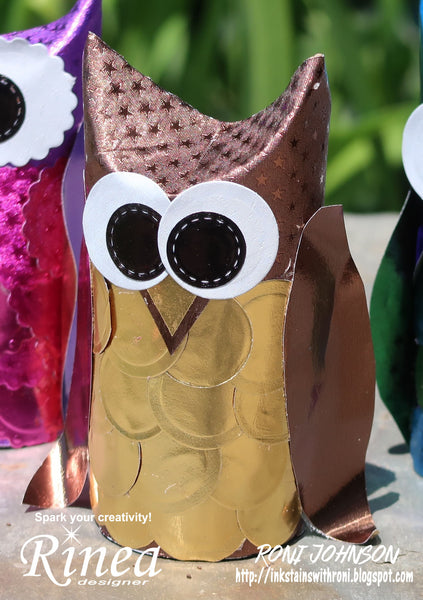
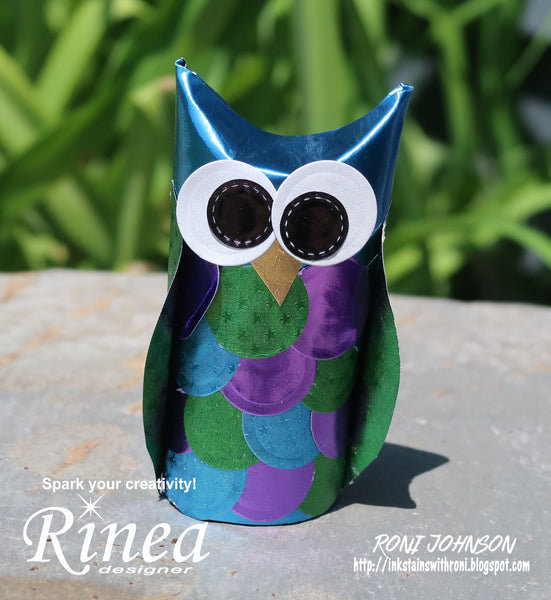
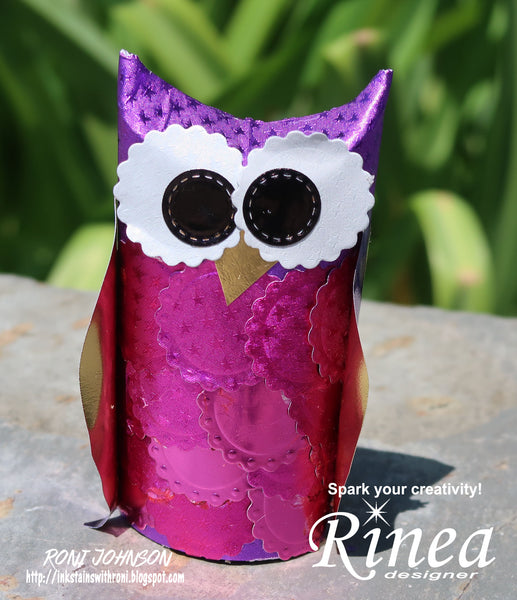
Prep the individual pieces ahead of time. Each owl requires the following: (1) empty TP roll (or cut a paper towel roll into 4" sections), (1) 4x6" sheet of foiled paper for the body, 12-16 circles for the chest "feathers", (2) Arctic/Arctic Starstruck (white) circles for the eyes, (2) Ebony/Gold Glossy circles for the pupils and a 3x3" piece of foiled paper for the wings.
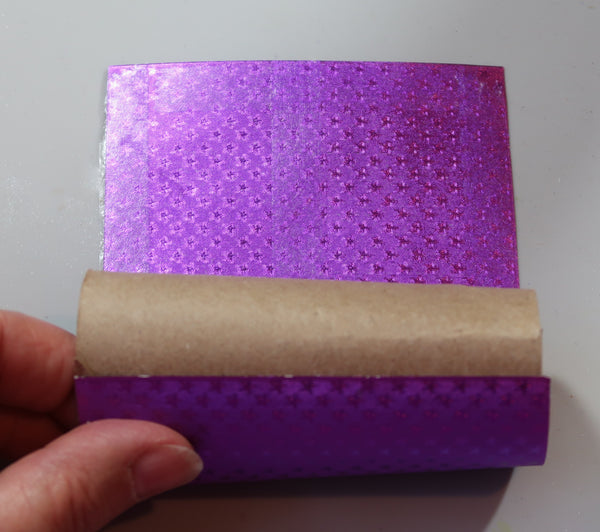
Step 1 - Apply adhesive to the 4x6" sheet of foiled paper; place the toilet paper roll at one end and roll it up in the paper.
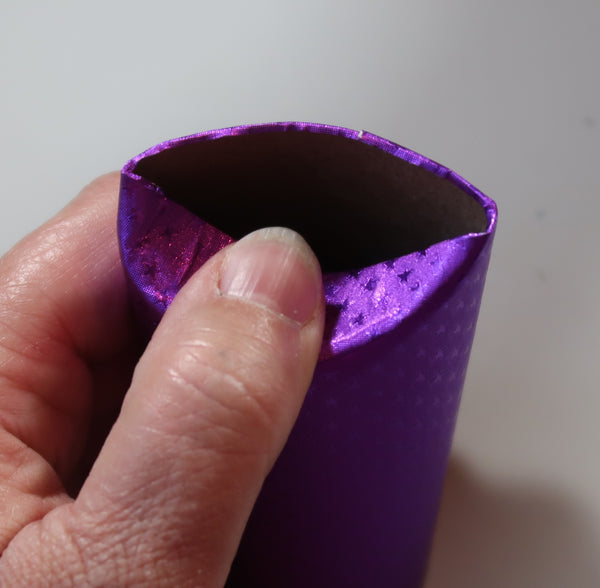
Step 2 - Decide which end is up, push one half of the roll towards the center of the roll.
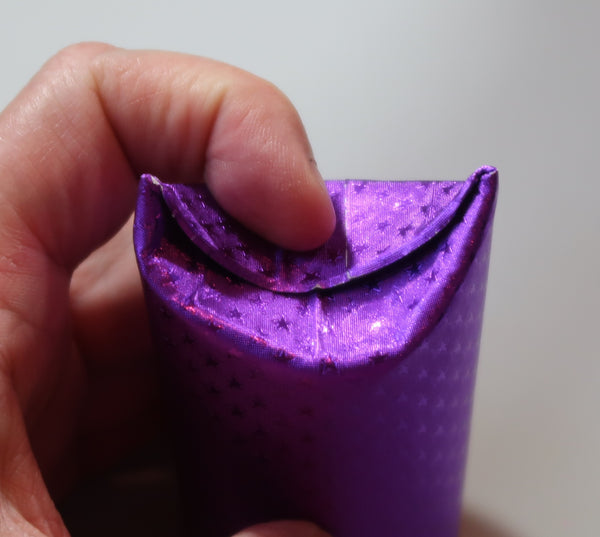
Step 3 - Rotate the roll and push the other half of the rollover the first. This creates the ears of the owl.
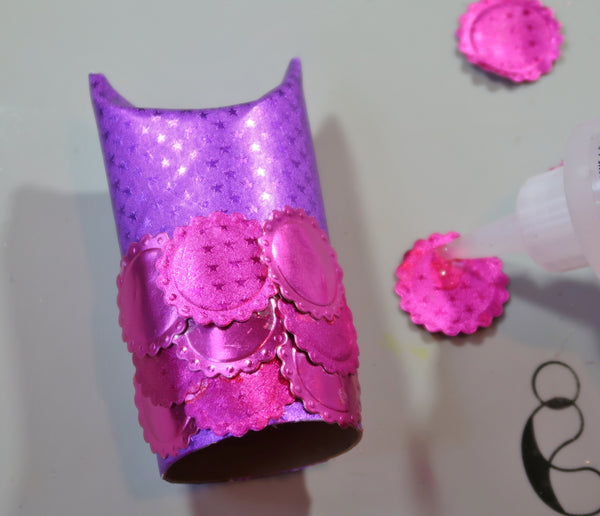
Step 4 - Glue rows of circles on the front of the owl starting at the bottom working upwards about two-thirds of the way.
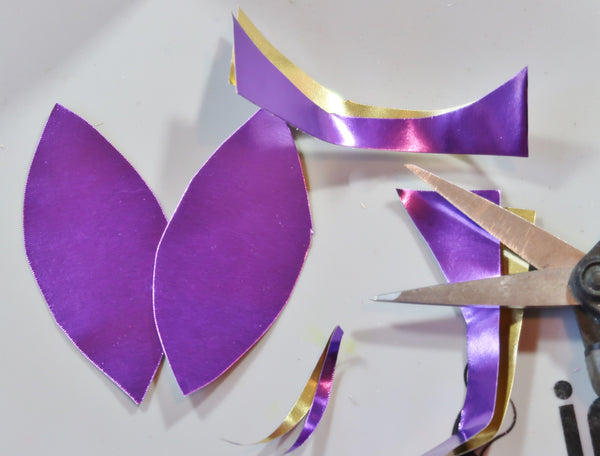
Step 5 - Fold the 3"x3" sheet of foiled paper in half and cut a basic wing/leaf shape.
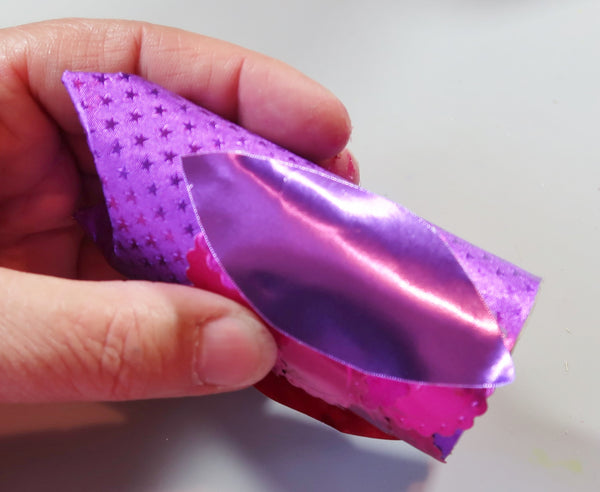
Step 6 - Adhere the wings on either side of the owl covering the edge of the chest feathers.
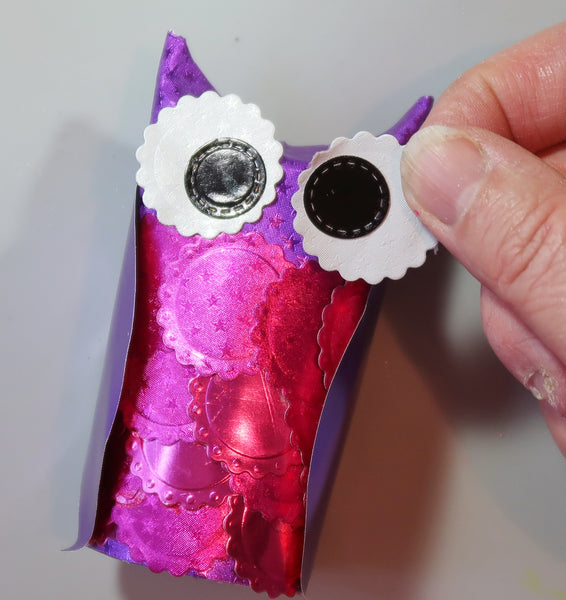
Step 7 - Adhere to the eyes and beak.
Step 8 - Repeat steps 1-7 until you have a parliament of owls!
Supplies:
Rinea - Violet/Gold Glossy, Violet/Violet Starstruck, Fuchsia/Gold Glossy, Fuchsia/Fuchsia Starstruck, Mocha/Mocha Starstruck, Gold/Gold Glossy, Emerald/Emerald Starstruck; Arctic/Arctic Starstruck, Ebony/Gold Glossy
Toilet Paper Roll
Circle Dies (various sizes as desired)
Circle Dies (various sizes as desired)
