Post-It Note Holders

Hi everyone, Steph here again and I'm so excited to share my newest projects with you - Post-it Note holders.
I wanted to create some small, inexpensive gifts that can be easily recreated. These would be a perfect little something for a teacher or for anyone who uses lots of Post-it Notes! I know I use Post-it Notes all day!

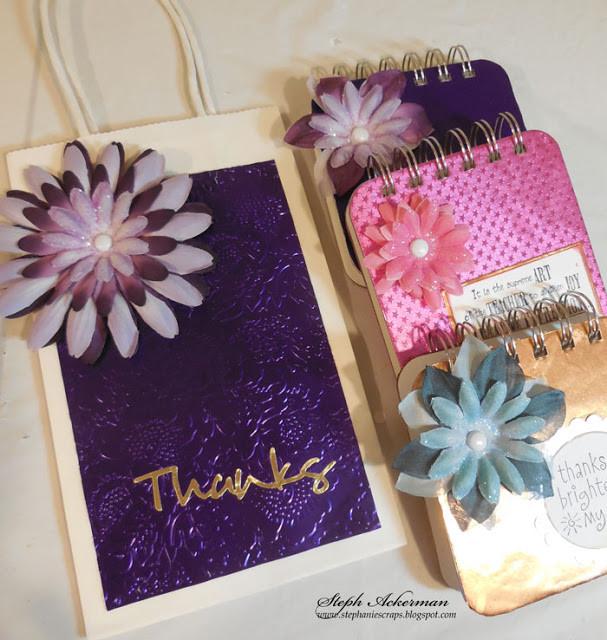
I had tons of chipboard coasters in my stash and knew they'd be a perfect size to use. I cut assorted foils to fit - Blush/Blush Star Struck Foiled Paper, Copper/Copper Glossy Foiled Paper, and Violet/Gold Glossy Foiled Paper. Since the chipboard is 4" square, you can easily get three note holders from one 9" x 12" foil sheet.

Using my Zutter bind-it-all, I punched holes in the foiled panels and added wire to create my little books.

Once the wire was added, I adhered the Post-It Notepad inside. I stamped some phrases that I wanted to use, adhering them to the note pads with Beacon Adhesives. Then I added Petaloo flowers to the corner.

Finally, since I have someone specific who will love the purple note holder, I created a coordinating gift bag.

Rinea Foiled Paper emboss beautifully when used with an embossing folder. I cut the Violet/Gold Glossy Foiled Paper to fit within the embossing folder.

Isn't it gorgeous????

I used Beacon Adhesive to adhere the embossed panel to a white gift bag, then die cut Thanks from a left over piece of the foil. Since the foil is double sided, the possibilities are endless and all scraps can be used. I ran Thanks through my Xyron Sticker Maker for complete and easy adhesive coverage.

I adhered Petaloo flowers in the upper corner of the gift bag with a brad so it would coordinate with the Post-it Note holder.
Aren't they awesome?
Who would you make some of these gifts for?
Thanks for stopping by today.
Steph