Make A Frosted Snowflake Wreath by Roni Johnson


Winter is upon us in the northern hemisphere and snowflakes are in the air. You can bring the beauty of winter into your home with this lovely snowflake wreath using the Frosted Variety Pack by Rinea.
Directions:

Step 1 - Paint a wreath form using white acrylic paint.

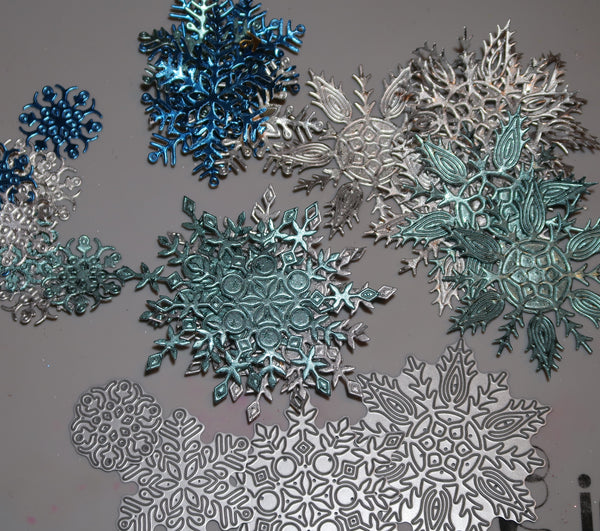
Step 2 - Die-cut several snowflakes in assorted sizes using foiled paper from the Frosted Variety Pack. You can cut several layers of Rinea foiled paper at one time.

Step 3 - Once you have all the snowflakes cut clean away the excess bits. The number of die-cuts needed will vary depending on the size of your wreath and the amount of layers you choose to add.

Step 4 - Affix hanger and if desired add a piece of vintage rhinestone jewelry as a dangle for an extra bit of sparkle. A broken rhinestone bracelet was used to embellish my wreath.

Step 5 - Glue the snowflakes to the wreath using your favorite adhesive.

Step 6 - Continue to add additional layers of snowflakes until the desired look is achieved. 4 layers of snowflakes were added to this wreath.

A close up look at the snowflake layers.

Add a bow and enjoy!!
Supplies:
Rinea - Frosted Variety Pack
Simon Says Stamp - Snowflake Dies
Beacon 3in1 Adhesive
Wreath, Ribbon
(optional) Junk Rhinestone Jewelry
