Make a Beautiful Phoenix using Rinea Foiled Papers by Roni Johnson

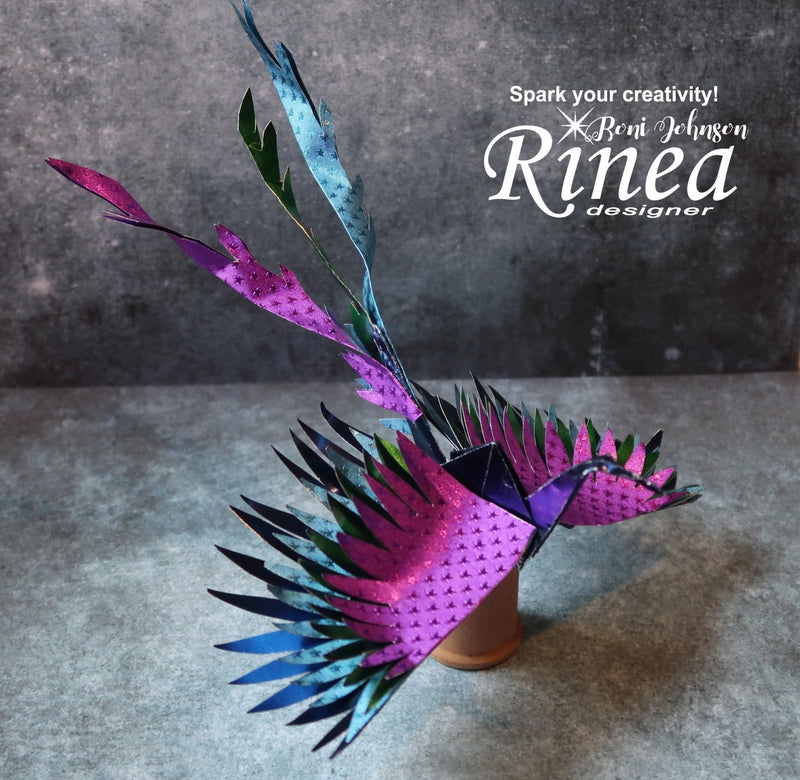

I love paper folding and today I have a lovely phoenix made using a basic origami crane folding technique with a few added bits to really bring it to life. I veered off the traditional route by choosing to make my phoenix with Midnight Dark Blue and the Peacock Variety Pack foiled papers.
Directions:

Step 1 - Cut a piece of the Midnight Dark Blue foiled paper 6x6".
Step 2 - Fold the paper according to the directions for a traditional origami crane. You could use a step by step diagram or here is a nice video that shows and explains each step: Easy Origami Crane. Below are some step by step photos showing some of the steps.

Step 3 - Fold the square into halves, open, rotate and fold into halves again, open.

Step 4 - Fold corner to corner, crease, open, rotate the paper and fold second corner to corner.

Step 5 - Turn the paper so a corner is pointing towards you - collapse the two sides in towards the center.

You will now have your square.


Step 6 - With the opening point towards you, fold the left and right points towards the center to form a kite shape.
Step 7 - Flip the paper over and repeat on the other side.


Step 8 - Open the kite folds back up.
Step 9 - Lift the bottom corner up folding the two corners in towards the center meeting in the middle as shown. (this is where the video comes in handy).
Step 10 - Flip the paper over and repeat step 9 on that side.

Step 11 - Now you have 2 "legs" pointing towards the bottom, fold the point on each side towards the center meeting in the middle.
Step 12 - Flip it over and repeat step 11 on this side.

Step 13 - Fold the wings down and crease.

Step 14 - (I find it is easier to re-fold the neck and tail with the wings up) - Gently pull the tail and neck down and crease.
Step 15 - Fold the wings back down.
Step 16 - Bend the tip of one of the points down and crease it open to create the head.
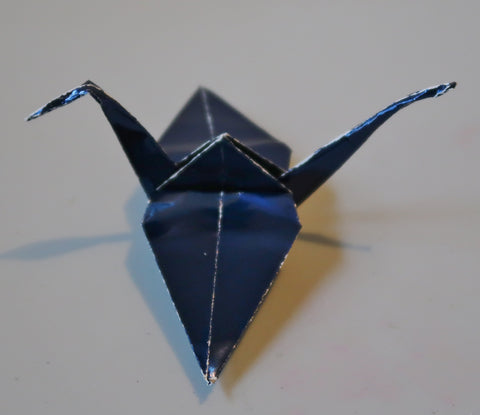
Congratulations - You now have a basic origami crane!

Note - it is normal for the white center of the paper to show after all that folding. Simply take a marker and add a bit of color on each of the fold lines to blend the white away.
We are now going to take it a step further to create a Phoenix by adding feathered wings and tail.

Step 17 - Cut the following pieces of foiled paper and fold in half.
Midnight Dark Blue/Gold Glossy - 6" x 3.5" (folded = 3" x 3.5)
Sapphire/Sapphire Starstruck - 5.75" x 3.25"
Emerald/Gold Glossy - 5.5" x 3"
Violet/Violet Starstruck - 5.25" x 2.75"

Step 18 - Trim away one corner (not on the fold side) to create an oval edge - this will be the slope of the wing.

Step 19 - Cut the oval edge into feathers as shown for each piece of paper.

Step 20 - Cut apart along the folded edge. You now have two identical sets of wings for the Phoenix.

Step 21 - Glue each layer of feathers to the wings of the crane.

Step 22 - Cut long tail feathers from additional pieces of foiled paper and affix them to the crane tail.


Supplies:
Rinea Foiled Paper - Midnight Dark Blue/Gold Glossy, Peacock Variety Pack