Learn How to Create a Colorful Silhouette Christmas Scene
by Roni Johnson


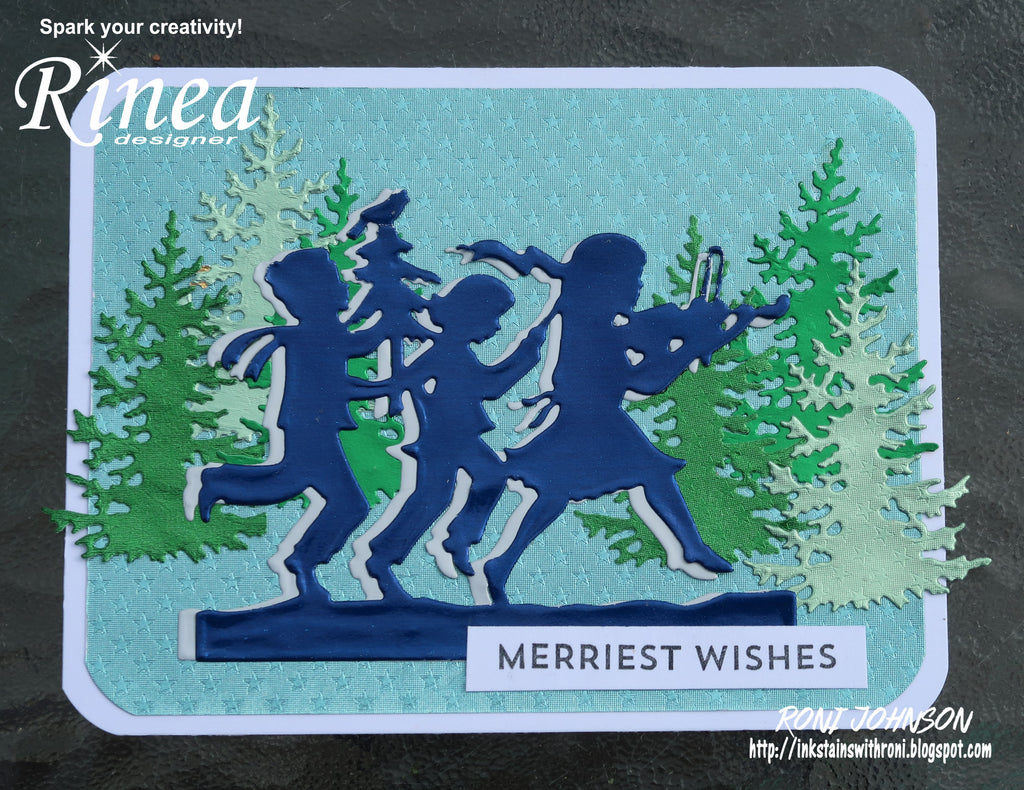
Who says a silhouette has to be black? Today I'm going to show you how to make a bright and colorful silhouette card for Christmas!
Yes I know it's July but this year we're starting early! It's time to get your holiday cheer on! This is a quick and easy card yet it yields amazing results. Let's go...
Directions:
Step 1 Start off by cutting a white card base, add a Turquoise/Turquoise Starstruck foiled paper mat.
Step 2 - Die-cut several pine trees from Emerald/Gold Glossy, Emerald/Emerald Starstruck, Jade/Jade Starstruck and Jade/Gold Glossy foiled paper.
Step 3 - Adhere the trees down to the card in groups of three.
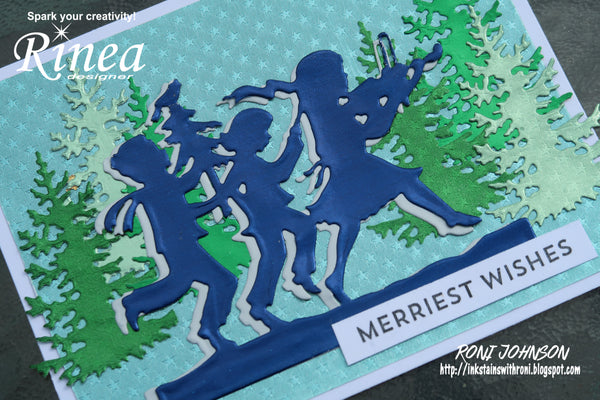
Step 4 - Diecut the FaLaLaLa image from both Arctic/Gold Glossy and Cobalt/Gold Glossy foiled paper.
Step 5 - Glue the Cobalt diecut slightly off center over top of the Arctic diecut. Center and adhere this image to the card.
Step 6 - Stamp the sentiment (MFT - Snow Globe Sentiments) on a scrap of white cardstock, trim and add it to the card.
Supplies:
Rinea - Turquoise/Turquoise Starstruck, Emerald/Gold Glossy, Emerald/Emerald Starstruck, Jade/Gold Glossy, Jade/Jade Starstruck, Arctic/Gold Glossy, Cobalt/Gold Glossy
Spellbinders - Fa La La La Diecut
Gina Marie - Pine Trees Diecut
My Favorite Things - Snow Globe Sentiments
White Cardstock, Adhesive, Diecut Machine