Layered Cards Full of Wishes by Charity

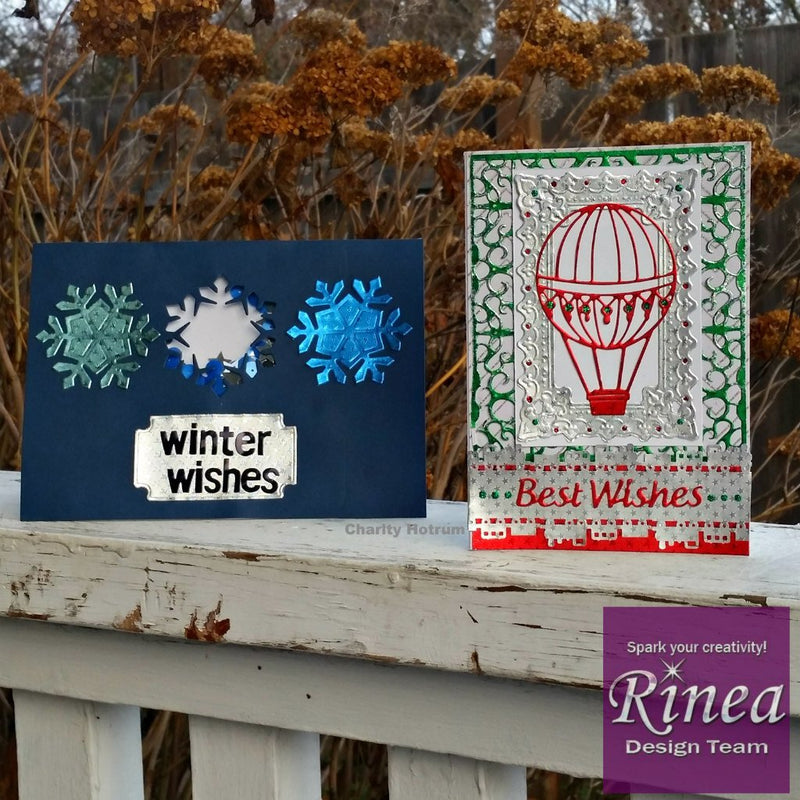
Charity here with a pair of exquisite, layered cards full of wishes. These are so easy to make with a Variety Pack of Foiled Paper from Rinea. The wow factor is in the glow foiled paper brings to all project.

Step 1: Gather and die cut card pieces.
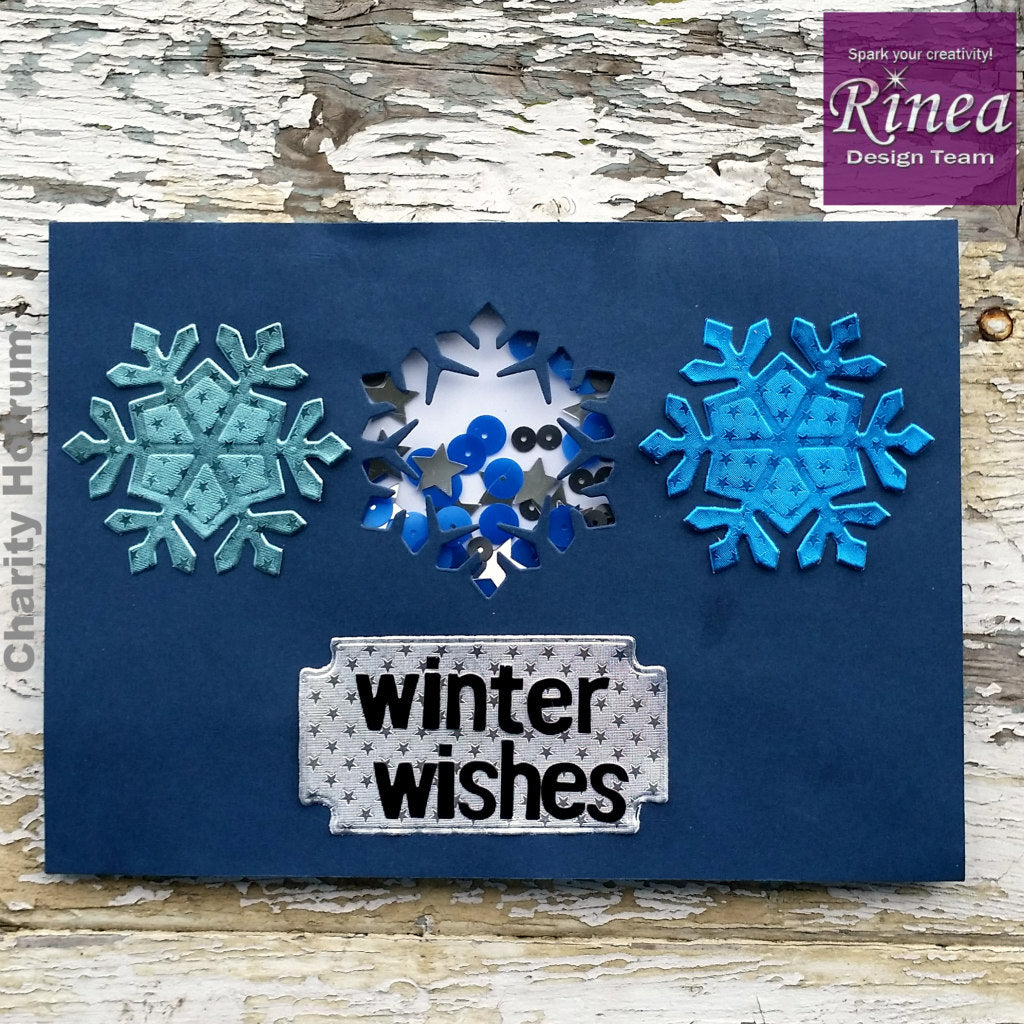
The first step in creating Winter Wishes is to die cut each of the pieces. Because I was making a shaker card, I also die cut the card front. Not pictured below is the piece of acetate I used for the window and the 5x7 white card blank.

Step 2: Create the shaker using two layers of foam tape, add sequins.
Frankly, this is not my strong point. It took a lot of piecing of foam tape around the snowflake and the acetate window to get the shaker just right. I also ran a line of foam tape around the perimeter of the card. Don't forget to add the sequins before placing the card front on the base.

Step 3: Adhere foiled paper snowflakes to the front of the card.
I like to used BGE. Just a few drops will hold the flakes in place. The foil is easily embossed and a bulky spot of glue will show.

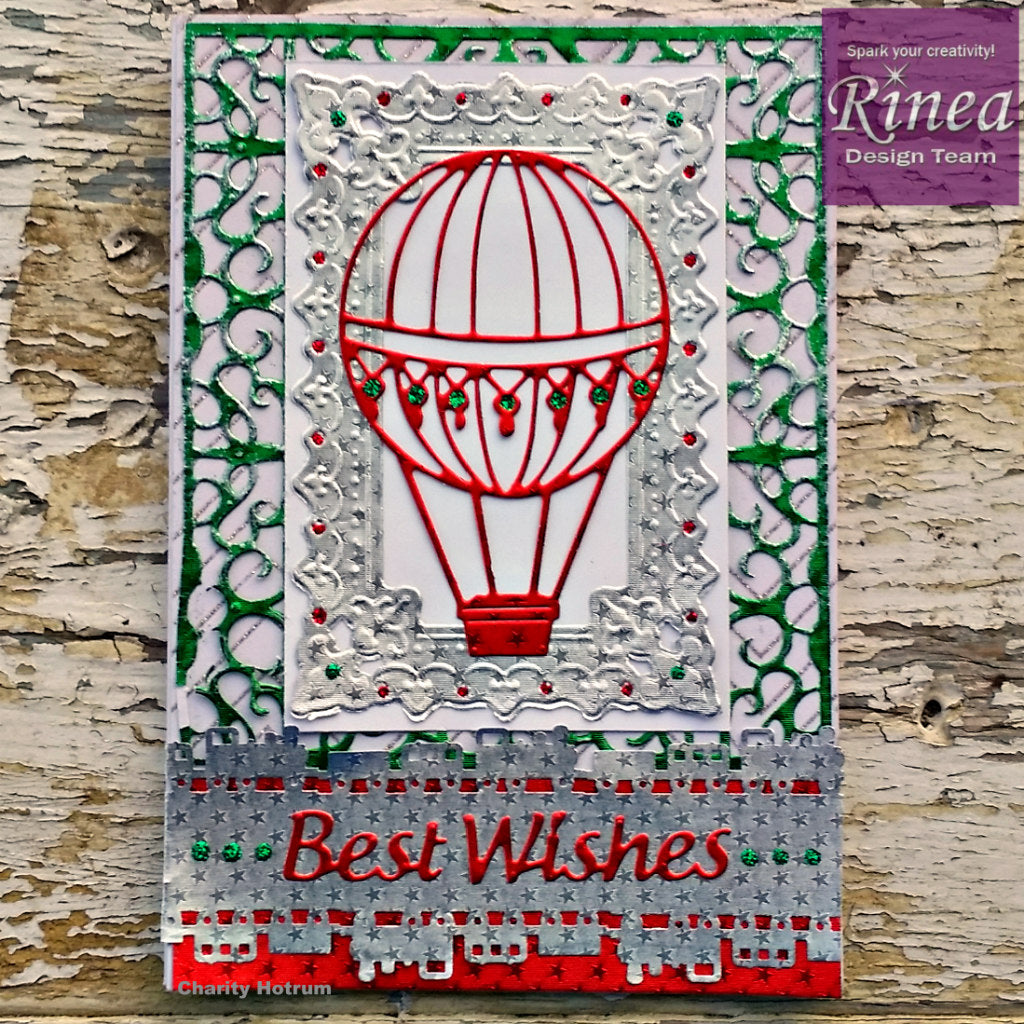
The instructions for Best Wishes are simple: Gather, Diecut, Assemble.
When die cutting the Foiled Paper it is helpful to use washi tape to hold the die in place. Intricate dies take a few passes through the rollers and having the die slip is disastrous.

The balloon and sentiment for this card are 1/16 of an inch in places! I find that using a writing tip assists in getting the glue exactly where I want it.

I added glitter glue to my design. I love the color and sparkle it adds.
This card shows how easy it is to take traditional Christmas colors into the rest of the year. I used the Jolly Foiled Paper Variety Pack for this card.