How To Make a Candy Gift Box
by LeeAnn McKinney

Hello friends and fellow crafters, LeeAnn here with a cute Candy Gift Box that I made for a friend's birthday coming up soon.
Products used for this project:
Imagine Crafts Tear It Tape
Brother Scan N Cut
Candy
How I made this project:
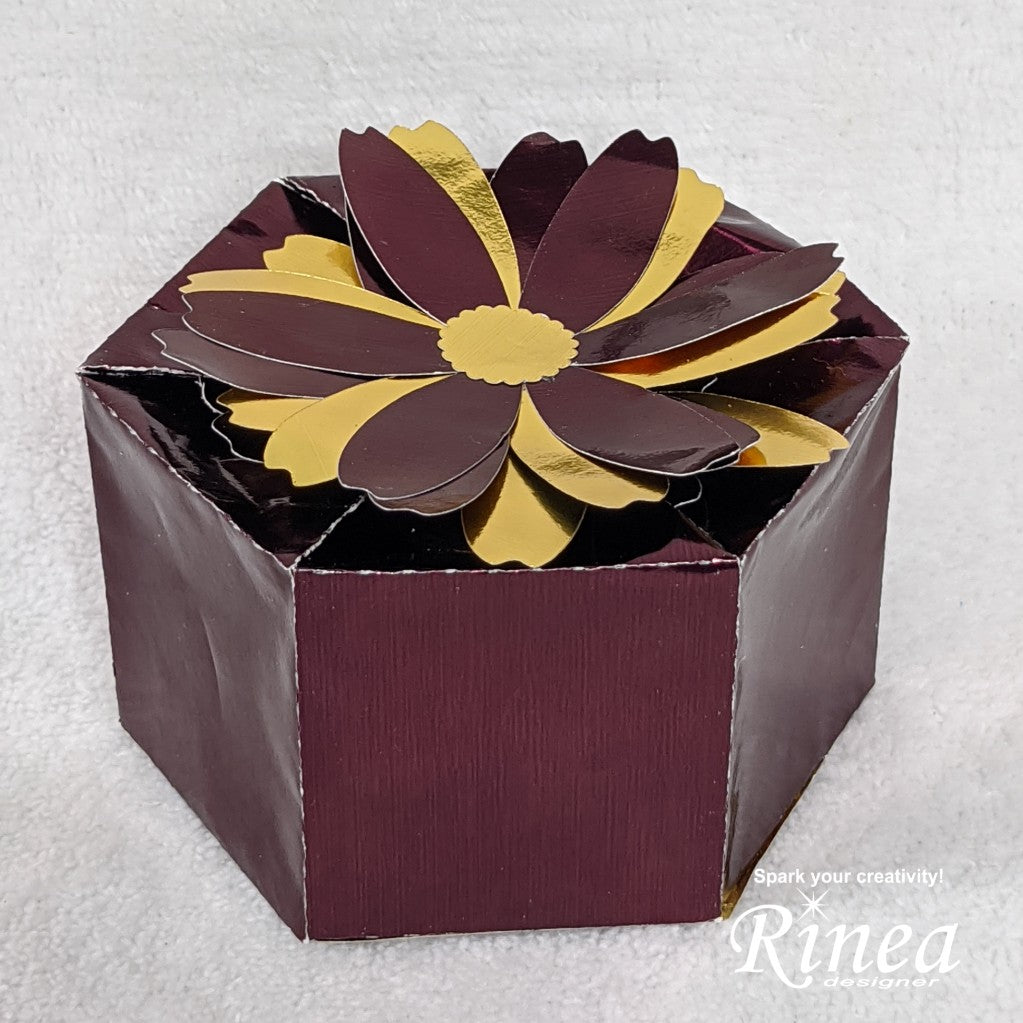
1. I started off with 2 panels of 6" x 12" panel of Rinea Glossy Merlot/Gold Foiled Paper and loaded it on my Brother Scan N Cut, I loaded the cut file on my machine and cut out the pattern for the box and flowers.

2. Not only did this cut the file but it also scored the fold lines, which was awesome. I then used my fabric lined scraper to carefully fold on each line. I used this fabric-lined scraper as I did not want to put scratches in the foil paper.

3. The next step was to use Imagine Crafts Tear-It Tape on all tabs to create the "box, there were 6 tabs to hold the bottom, 1 for the side, and 1 for the top. After removing the backing piece by piece all tabs were adhered in their proper position.

4. Carefully putting the panels together on the sides for accuracy.

5. Making sure the bottom was all sealed properly.

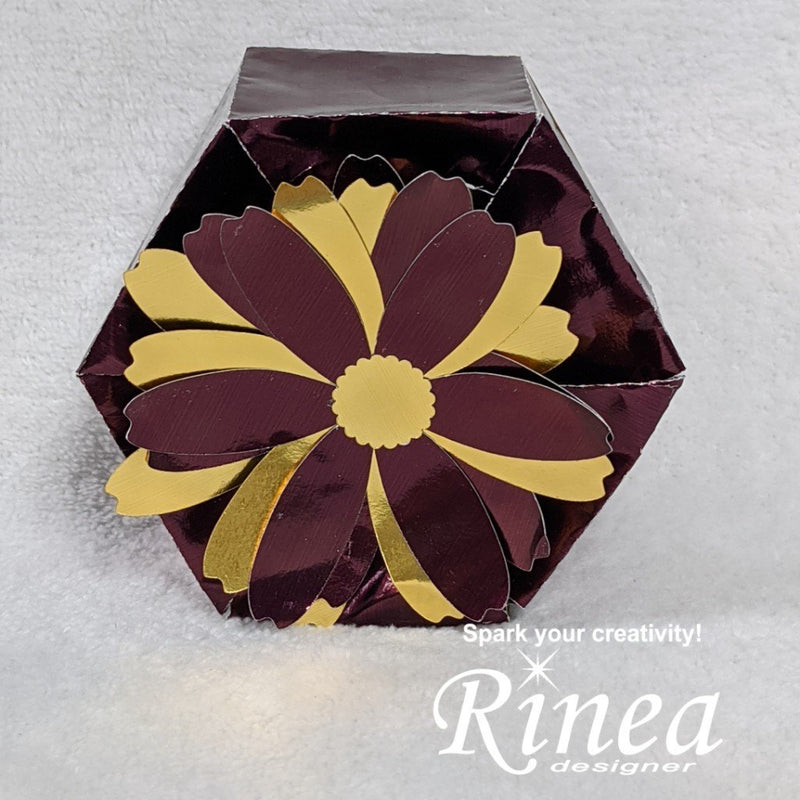
6. The flower petals were adhered to each other alternating colors of Gold and Merlot and attached to the proper tab.

7. Fill with candy, fold down the top, and present it to the recipient.

Thank you for stopping by the blog today. I hope you found some inspiration! Please be sure to stop by the Rinea Shop to pick up some of our Wonderful Foiled Paper