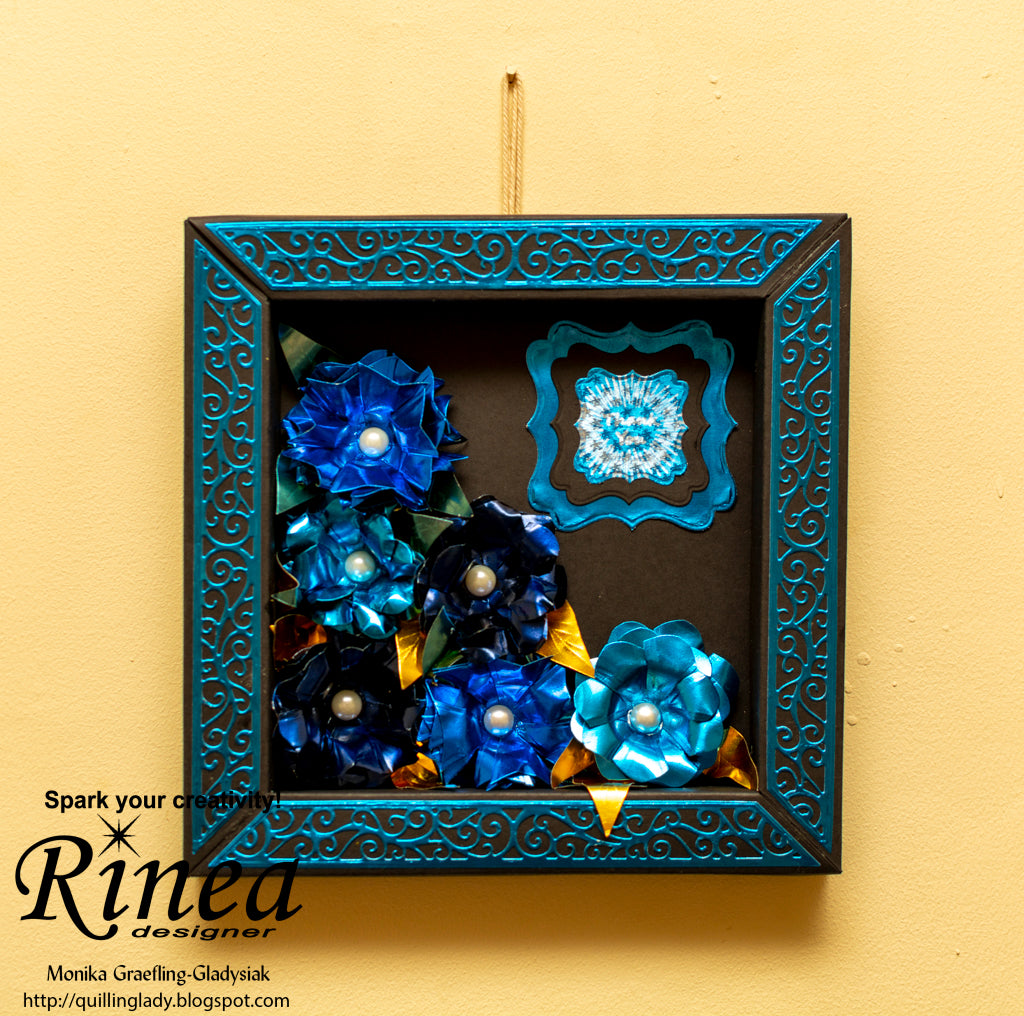
How to Make a Shadow Box Frame with Blue Flowers
by Monika Graefling-Gladysiak

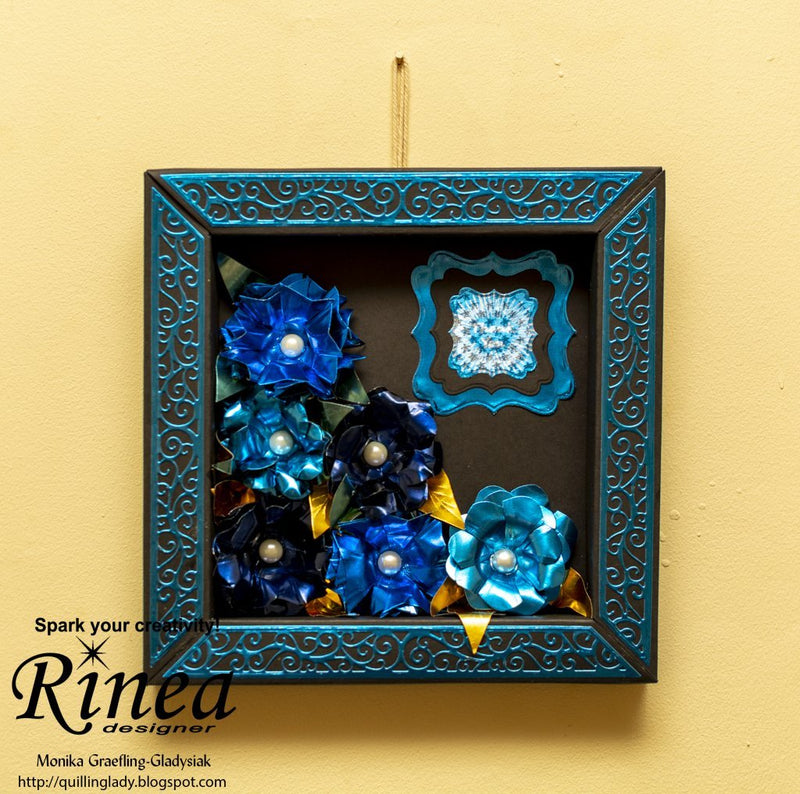
Hello, amazing crafters! I hope you have a fabulous day. Today, I am going to show you how to create a 3D box frame with blue foiled paper flowers.
What you need:

Step 1:
Use the smallest die to die cut 18 circles (you need 3 of the same color to create one flower). I used Midnight, Cobalt, and Sapphire foiled paper.


Step 2:
Use scissors to create different petal shapes. You need multiples of 3.
Use scissors to create different petal shapes. You need multiples of 3.


Step 3:
Use a ball tool to shape the flowers. Stick 3 die cuts together to create one flower using liquid glue.


Step 4:
Adhere double-sided tape on the back of Sapphire foiled paper and die cut the inside of the frame 4 times.
Use black card for the frame, I used a cutting die 'Gemini Dimensionals - Frame' and die cut it 4 times. Adhere to the blue borders and stick the frame together.


Step 5:
Cut the black panel and adhere it on the back.


Step 6:
Create leaves using Turquoise foiled paper, both the front and back. Fussy cut different shapes of leaves and use a small ball tool to create veins.


Step 7:
Adhere the flowers and leaves inside your 3D frame. You can use liquid glue, 3D glue, or a glue gun.

Step 8:
Use any nesting die to create 3 small panels for your sentiment.
Use a sentiment from the stamp set and the ghost ink, adhere it in the corner of your frame.
Use a sentiment from the stamp set and the ghost ink, adhere it in the corner of your frame.


Step 9:
Add pearls in the inside of your flowers and attach a piece of string at the back.

Step 10:
Admire your beautiful box frame and hang it on the wall :D

Happy crafting!