How to create home decor with Rinea Foiled Papers

Hi everyone, Steph here today to show you how to create a home decor piece using Rinea Foiled Papers. My project was created for an upcoming wedding, but I could easily have created an Easter banner, a Mother's Day wall hanging or another seasonally related project.

This project used papers from the Rinea Formal Foiled Variety Pack along with left over scraps of Rinea Jade Starstruck and Rinea Emerald Starstruck.

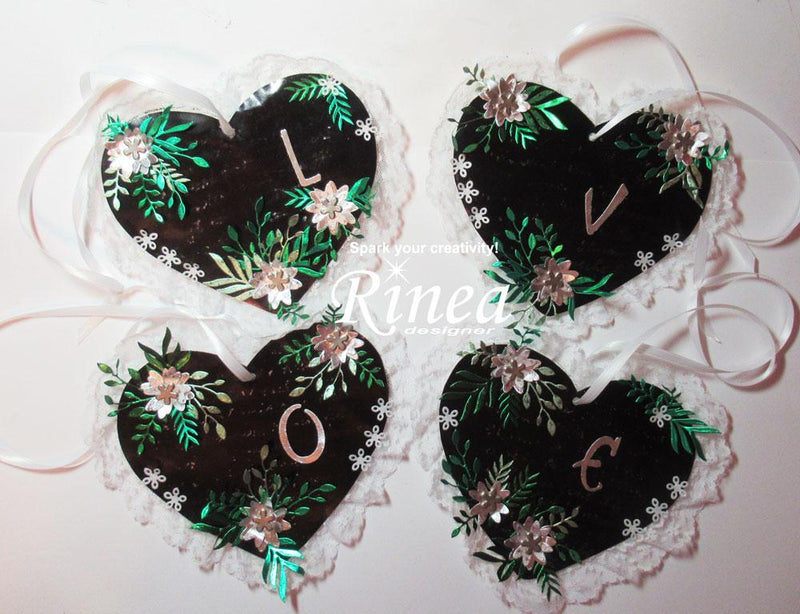
I started with chipboard bases which I cut into heart shapes. Using the hearts as templates, I cut 4 panels from Ebony/Gold Glossy. To create some dimension, I lightly stamped Oma's Postcard Stamp with Rinea Ghost Ink on each panel.

Using Sizzix dies, I die cut an assortment of flowers and leaves in various sizes and shapes. The letters were also die cut from Sizzix dies.

I played around with all the die cut elements determining how I wanted each panel to look as I wanted each panel to look slightly different. Once I liked the designs, I adhered all the elements to the hearts and added brads through the flowers.

I adhered lace to the chipboard to create a feminine effect.

I cut Ebony Starstruck for the opposite side of the hearts.

Once the decorated panels were finished, I added them to the chipboard panels.

I punched holes in the top of each panel and threaded satin ribbon to be used as the hanger. Since I wasn't sure how the bride was going to hang these panels, I left the ribbon long enough so it could be cut, if necessary.

I decided to add some tiny flowers from TLC Designs as the finishing touch scattered about each heart.

I hope I have inspired you to create your own decor pieces.
Thanks for stopping by.
Steph