How To Create A Daisy Tea Light
by Annie Collins

Hello Crafty Friends - Annie here with a fun and quick table decoration featuring our

Materials Used:
Distress Oxide Ink: Aged Mahogany
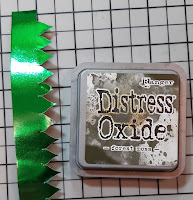
Distress Oxide Ink: Forest Moss
Distress Oxide Ink: Fossilized Amber
Imagine Crafts: Tear It Tape
Mainstay Brand: Battery Tea Light
Brother Scan n Cut Machine
Let's get started.
I used the Brother Scan n Cut to cut all the pieces for the daisy.
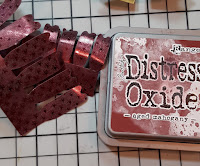
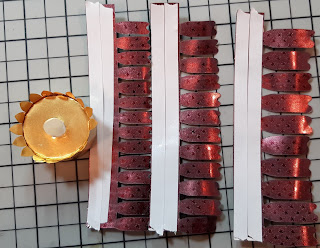
I cut the 3 sizes of the daisy's petal from Rinea: Merlot/Merlot Starstruck Foiled Paper.
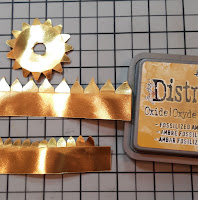
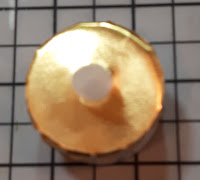
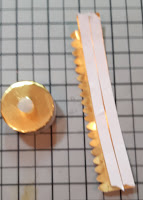
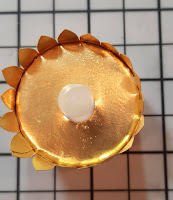
I cut the 2 centerpieces of the daisy from Rinea: Gold/Gold Glossy Paper. Finally, I cut the leaves from Rinea Emerald/Gold Glossy Paper
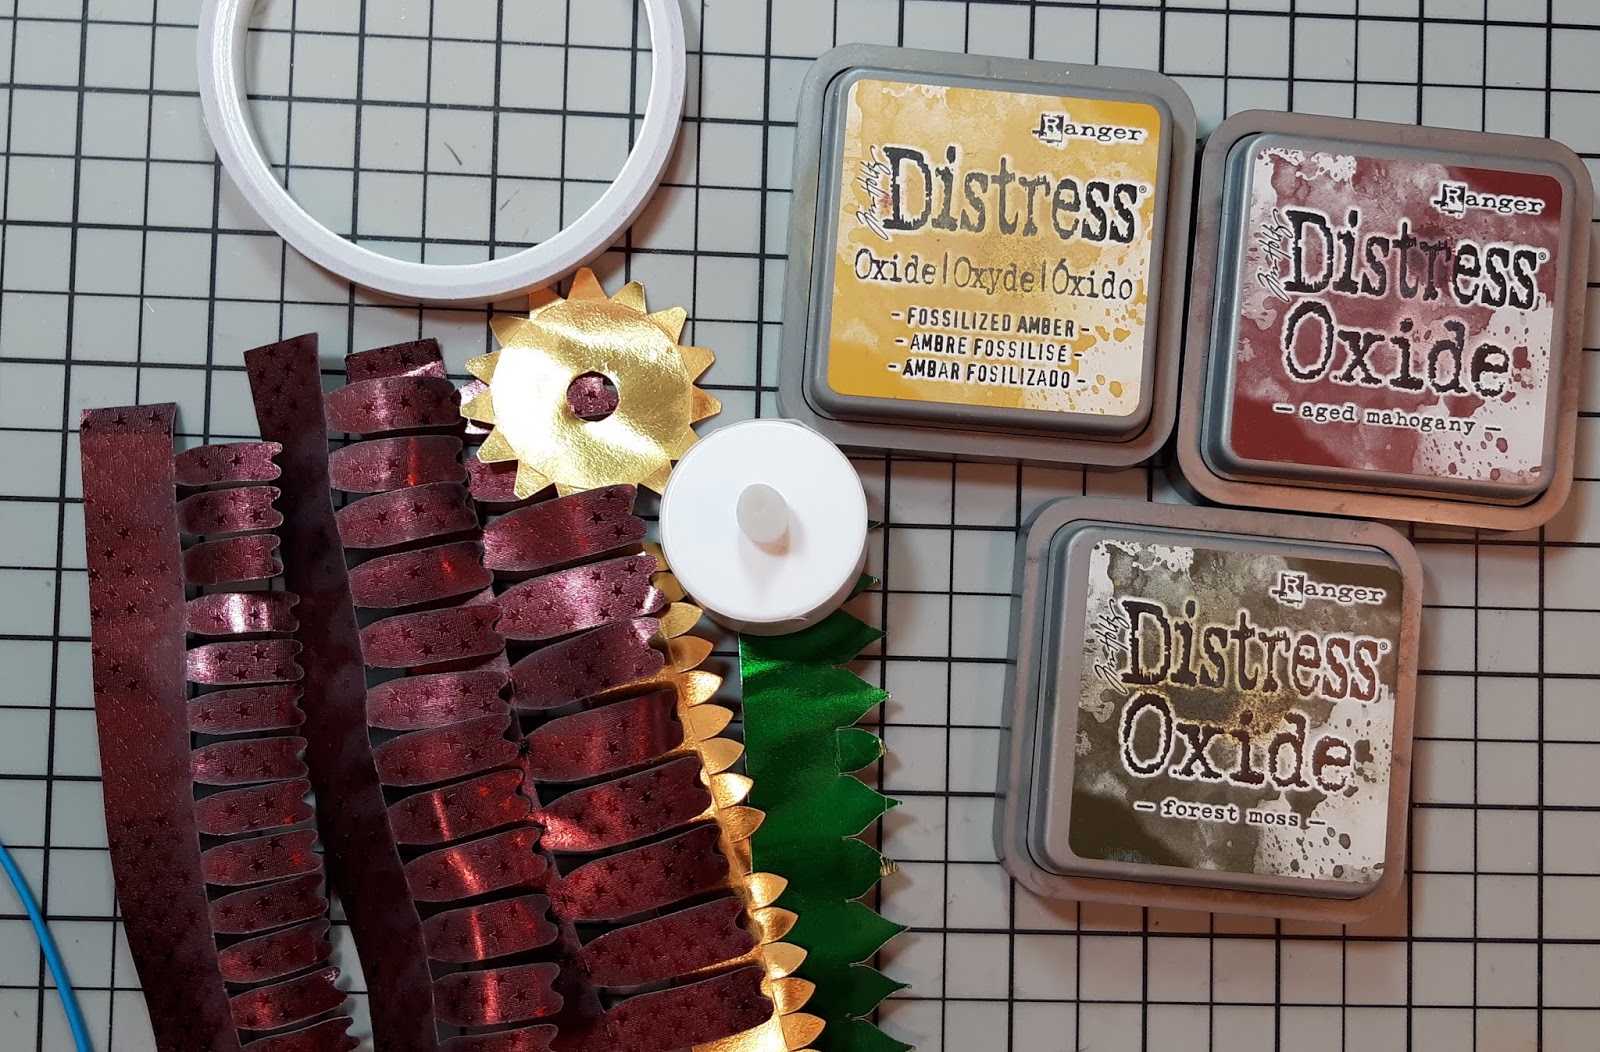
Next, I inked the center Rinea: Gold/Gold Glossy Paper with Distress Oxide ink Fossilized Amber, followed by the Rinea: Merlot/Merlot Starstruck Foiled Paper petals in Distress Oxide ink in Aged Mahogany and the Rinea Emerald/Gold Glossy Paper leaves with Distress Oxide ink in Forest Moss. I do this for extra definition and to hide the white core of the Rinea Foiled Paper. I then applied Imagine Crafts tear it tape to all the pieces.
Then, I applied some Imagine Crafts tear it tape to the base of the tea light. I then placed the top of the daisy to the tea light. It just slips onto the tea light. Next, I remove the backing to the adhesive and press the top's anchoring tabs to the side of the tea light.


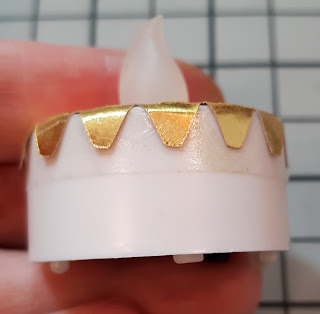
Next, I remove the backing for the tear tape and start applying the Rinea: Gold/Gold Glossy Paper center petals. You just press them to the sides of the tea light.

Then, I repeated the process with the Rinea: Merlot/Merlot Starstruck Foiled Paper. Starting with the small petals, then medium petals, and finally the large petals.

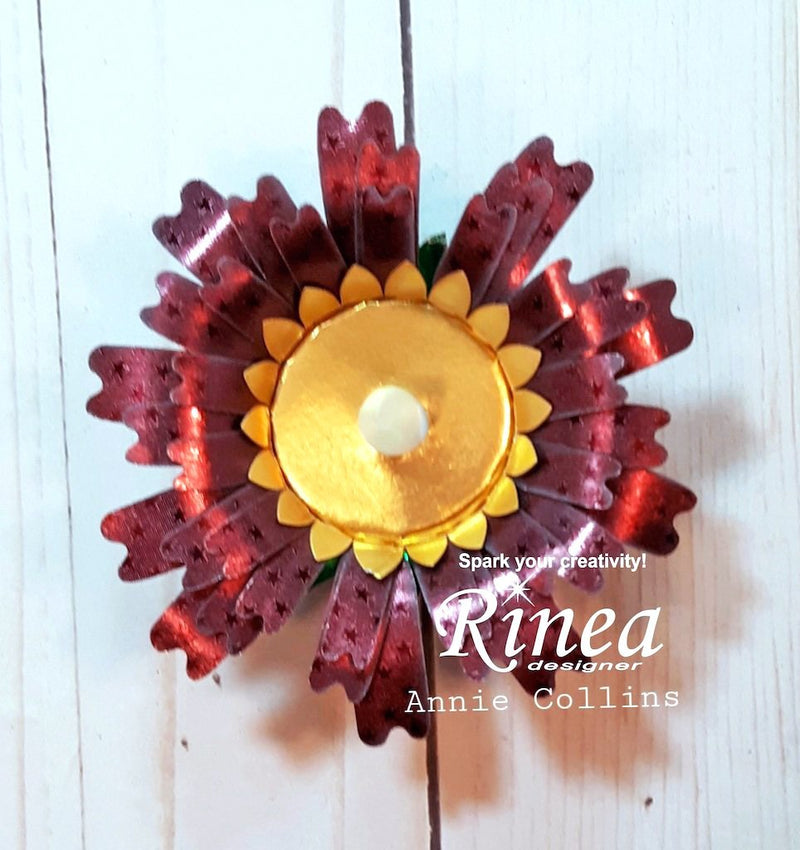
Here's what the daisy tea light looks like on its side. Then, gently curl the leaves and petals downwards to form the daisy. I love that the Rinea Foiled Paper holds its shape.


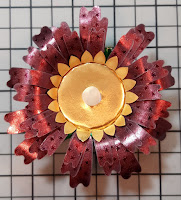
Now, the Daisy Tea Light is complete!
This little tea light is perfect for any table setting. With fall just around the corner the New Release Rinea: Merlot/Merlot Starstruck Foiled Paper will make it so easy to create beautiful Fall projects.

Thank you for stopping by the blog today. I hope you found some inspiration!