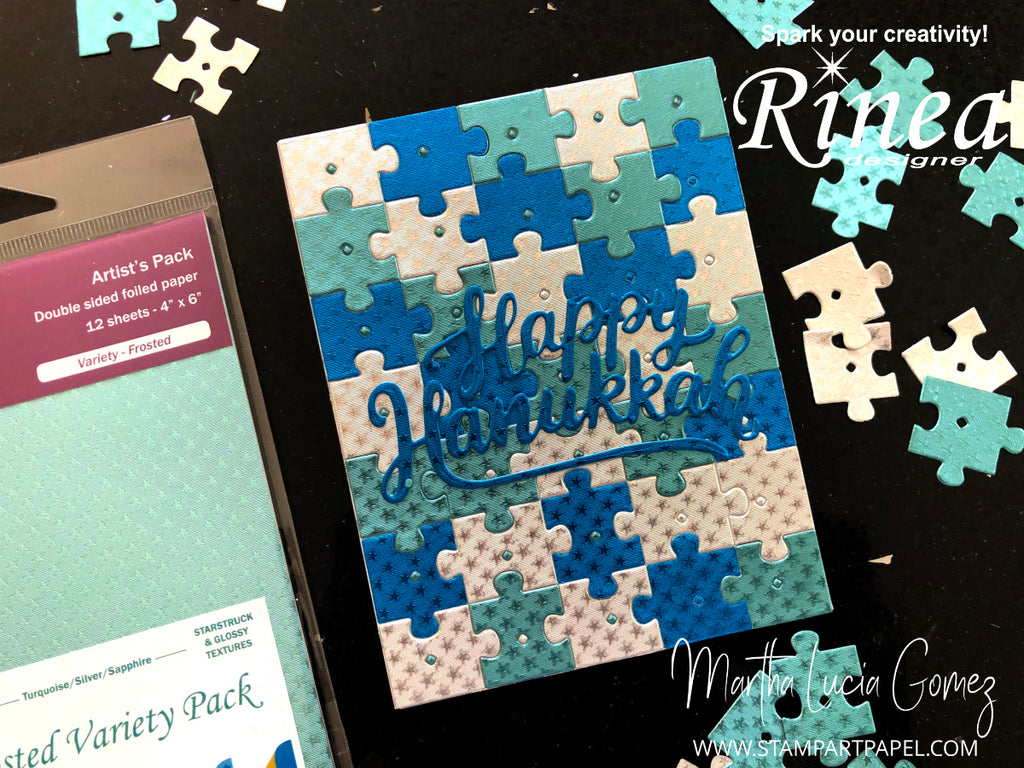
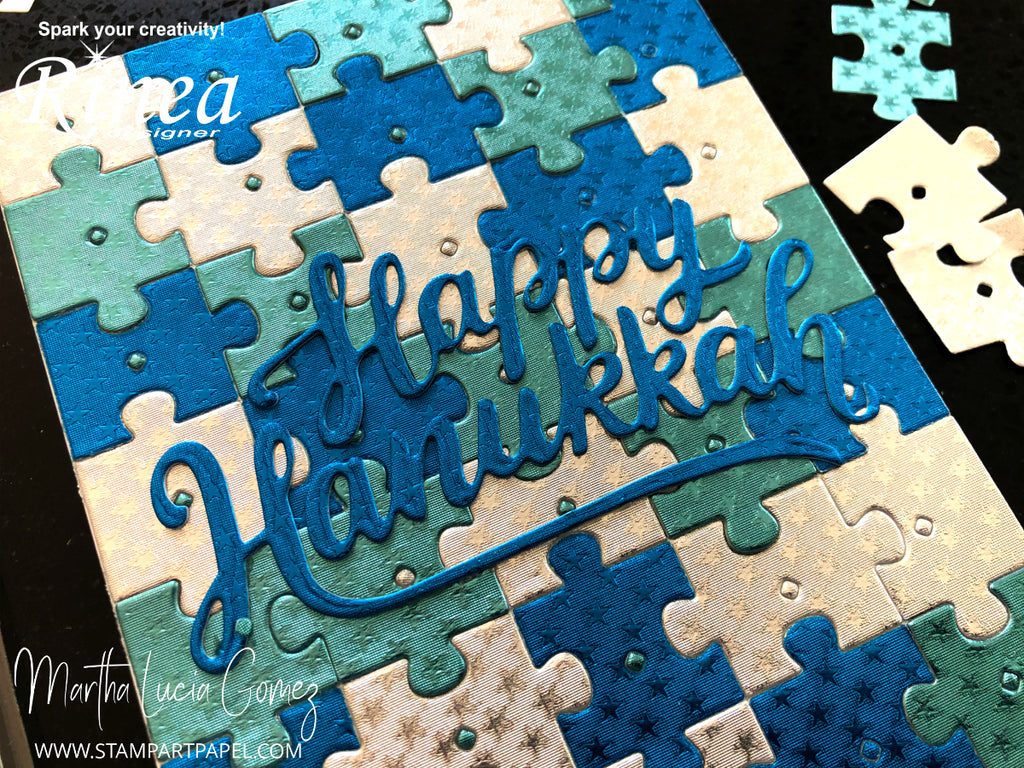
How To Make A Special Hanukkah Card by Martha Lucia

Hello crafty friends, Martha Lucia here with you!
Today I am featuring the Frosted Foiled Paper Variety Pack in combination with the new Happy Hanukkah die from Kat Scrappiness!

I am a declared fan of the starstruck design and the colors of the Frosted Foiled Variety Pack are my favorites for the winter season. I decided to create a very attractive background to combine with the die cut word design. I used the Puzzle Die from Pink and Main. Here is the instruction to make this easy and quick!
INSTRUCTIONS:
- Cut a layer of whisper white card stock of 4-1/4"x5-1/2".
- Add adhesive to the front of the layer. You can use adhesive sheets or liquid adhesive. The important thing is that all the surface is covered.
- Cut three pieces of Frosted Rinea Foiled Paper of 4-1/4" x 5-1/2" using three of the colors included on the Fronted Foiled Variety Pack - Crafty Pack.
- Place the three layers of Frosted Foiled Paper on the same place and paste it to the cardstock prepared on step 2. Technically you are pasted only one sheet but keep all the other two layers on top of it to continue with the process.
- Die cut the card stock and the three layers of Frosted Foiled at once in your big shot or die cut machine using the Puzzle Die from Pink & Main. Remove the die cut piece with calm from your cutting machine.
- Remove the top layer with tweezers in some die cut spaces. It all depends on the combination of colors that you want to have. In other slices you will need to remove the two top layers.
- If consider necessary add a few dots of liquid adhesive behind the pieces created with second and third layers.
- Die the sentiment using the Happy Hanukkah die from Kat Scrappiness.
- Paste the sentiment word over the designed layer and paste the entire layer over a card base.
- IMPORTANT: Keep the scrap pieces because you can made another project with them!

Thank you for stopping by and I hope this idea inspires you to use with other occasion themes!
See you soon!
Martha Lucia

