Gift Card Holders by Steph

Hi everyone, Steph Ackerman here today with some last minute Christmas gift card envelopes. Giving gift cards always seems so impersonal. BUT, create a special envelope, and the gift card now takes on a personalized appearance.

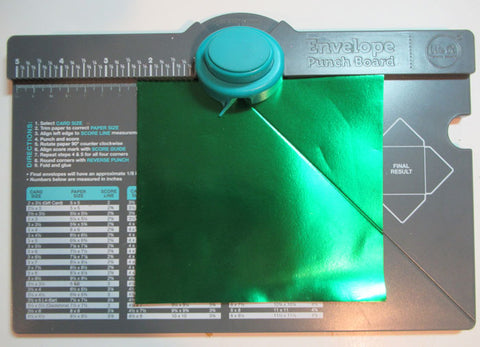
Using a WeR Memories Envelope Punch Board, I cut my foiled papers to 5 1/2" x 5 1/2". Following the directions on the board, I scored and punched each piece of foil.

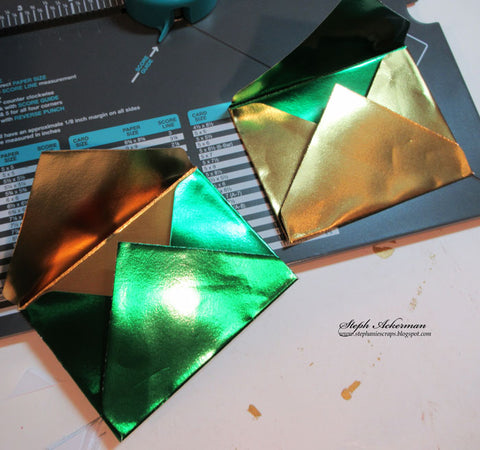
Next, fold on the scored lines to create each envelope. Since the foils are double sided, just flip one over to get a second envelope color. For my first 2 envelopes, I used Emerald/Gold Glossy Foiled Paper.


I wrapped white twine around the top of this envelope, then added a die cut decorative element cut from Ruby/Gold Glossy Foiled Paper.

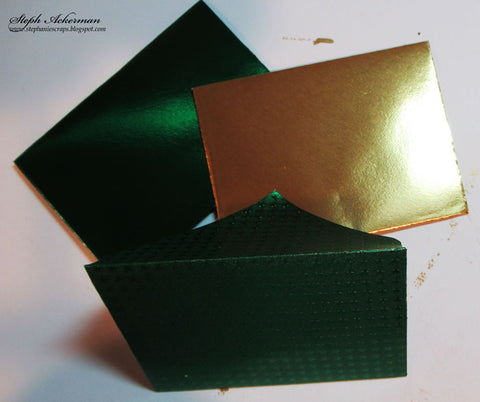
For the next envelope, I added a panel of Ruby/Gold Glossy Foiled Paper on which I stamped an image using Ghost Ink. Ghost Ink removes the color of the foil leaving amazing designs on the foil. I also wrapped white twine around the top of the envelope.

For my 3rd envelope, I die cut an oval from Ruby/Gold Glossy Foiled Paper and the rose design from Gold/Gold Glossy Foiled Paper. To finish, I added flowers to the corner with a brad.

Now just place gift cards inside the envelopes and give away.

These envelopes are quick and easy to make, and you can decorate them any way you desire.
I hope you've enjoyed this project.
Thanks for stopping by.
Steph
