DIY Gift Card Holders

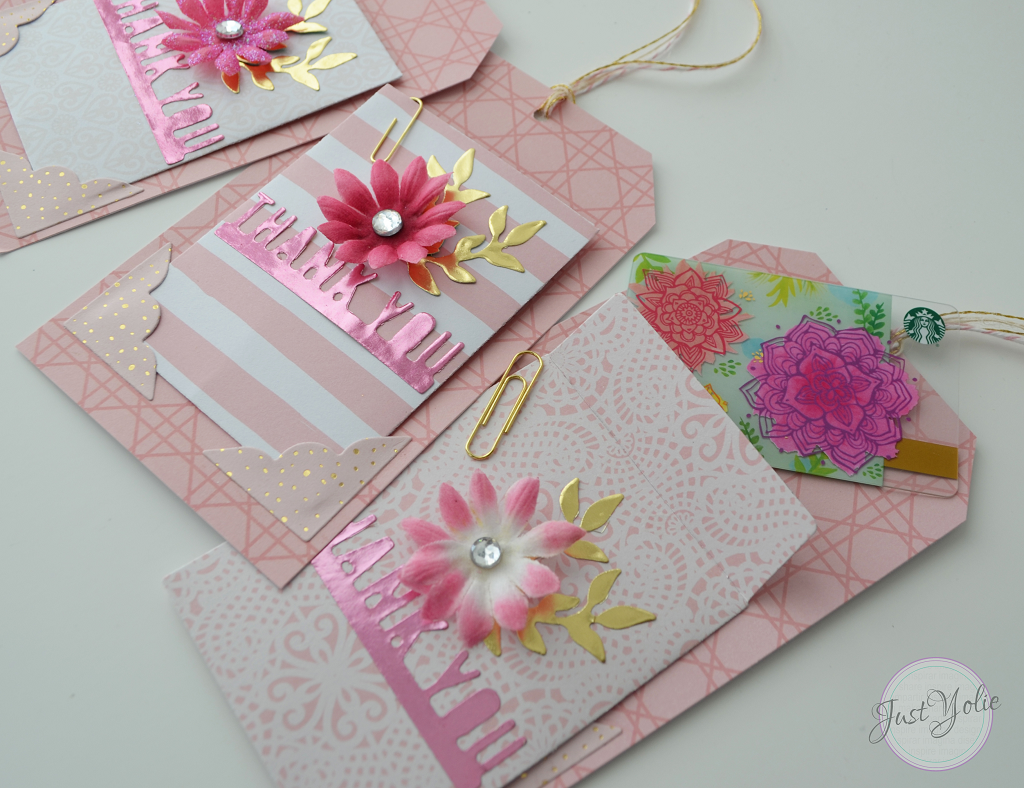
Hello, Yolie here today sharing some cute DIY Gift Card Holders I created. These would be great to make for every holiday or special occasion.


Supplies:
- Rinea Blush/Gold Glossy Foiled Paper - Crafter's Pack
- Gold/Gold Glossy Foiled Paper - Crafter's Pack
- Petaloo™ 25pc FabricFlowerLayers - Fuschia
- Pocket, photo corner, sprig, sentiment metal dies
- Manual die cutting machine
- Glue
- 12" paper trimmer
- 12" x 12" scrapbook paper
- Single hole punch
- 3 yards of twine
- Paper clips
- Rhinestones
Die cut the leaves with Gold/Gold Glossy Foiled Paper and the "thank you" on Rinea Blush/Gold Glossy Foiled Paper. I made three gift card tag holders, so I cut a total of 6 sprigs and 3 "thank you" sentiments. Next die cut the pockets (die cut not pictured) and assemble using glue. Allow to dry. Next die cut six photo corners using scrapbook paper. I used the paper trimmer to create the tags. Trim a 12" x 12" scrapbook paper to 3.75" x 6", punch a single hole in the middle and trim off the corners.

Position the pocket on top of the tag, then glue down one of the photo corners, followed by the second. Glue the "thank you" sentiments on the front of the pockets.

Glue the Gold Foiled springs and attached one flower to each pocket. Add a rhinestone to the center of each flower. Trim the twine and attached to the tag.

Insert a personal note or gift card, use the paper clip to keep the pocket closed. Secure the pocket within the photo corners, and we are all done.

These Blush/Gold Glossy Foiled Paper and Gold/Gold Glossy Foiled Paper gift card holders came together very quickly. They may be my go-to cards for the upcoming holidays.
I hope you enjoyed my project today.
Thank you for visiting and happy crafting.
Thank you for visiting and happy crafting.
