Bringing Snowflakes Inside Mini Canvas

Linda is on the blog today bring some winter snowflakes to those that do not have snow. We just love the colors of silver and blue together and the Rinea foil just make them sparkle even more!
We are in full swing of winter here in Oklahoma. For many in the country it means lots of snow. In Oklahoma we get cold temperatures and occasional freezing rain and if we are lucky snow. Today I decided that I was Bringing Snowflakes Inside.
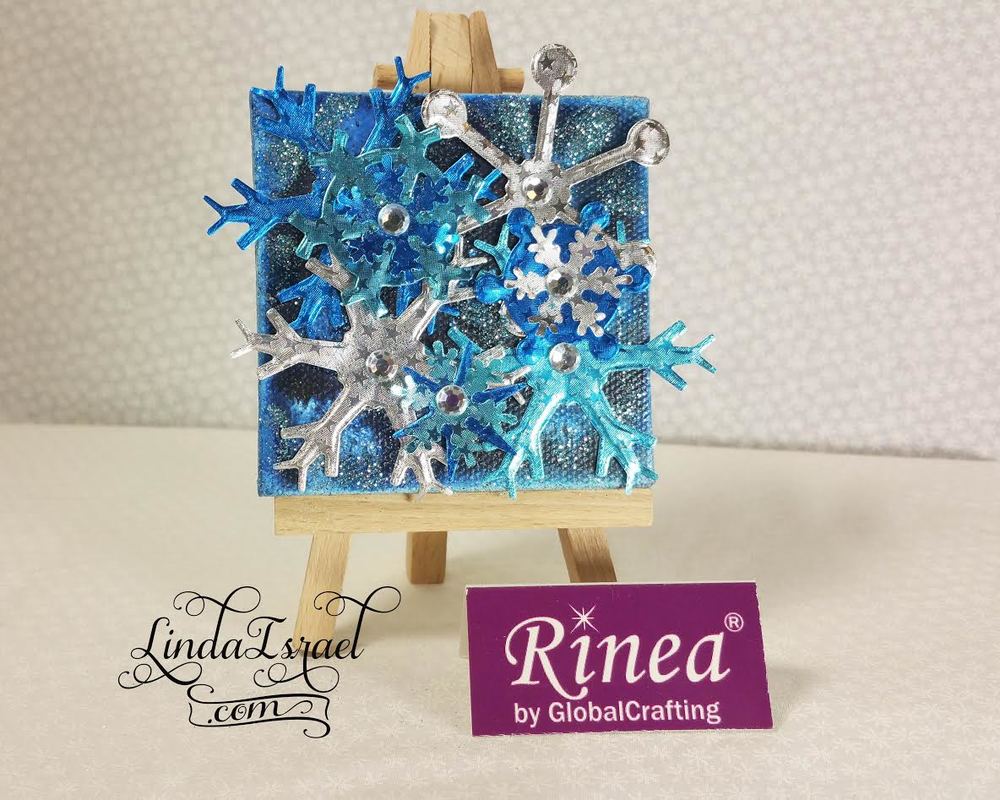
Since we don’t get much snow I decided that my project would be a little mini canvas filled with Rinea foil snowflakes.
Using embossed blue, light blue and silver Rinea foil, die cut with Spellbinders snowflakes. It is best to die cut one layer of paper at a time. If you try to die cut multiple layers at once the papers will stick together and you will spend a lot of time trying to separate them, trust me I know. There was an unknown brand snowflake punch in my stash used as well.
The mini canvas is 3 by 3 inches in size and came painted black. Unsure how much of the canvas background would show I decided to stamp a few Brutus Monroe Snowflakes from Oh Deer and Holiday Sentiments in Alabaster Pigment Ink. Then went around the edges of the canvas with the same ink pad.
The mini canvas is 3 by 3 inches in size and came painted black. Unsure how much of the canvas background would show I decided to stamp a few Brutus Monroe Snowflakes from Oh Deer and Holiday Sentiments in Alabaster Pigment Ink. Then went around the edges of the canvas with the same ink pad.
Sprayed True Turquoise and Sapphire Tattered Angels Glimmer Mist over the canvas and used heat tool to dry. The canvas was still sticky from the Pigment ink so I used fine glitter all over the sticky spots.
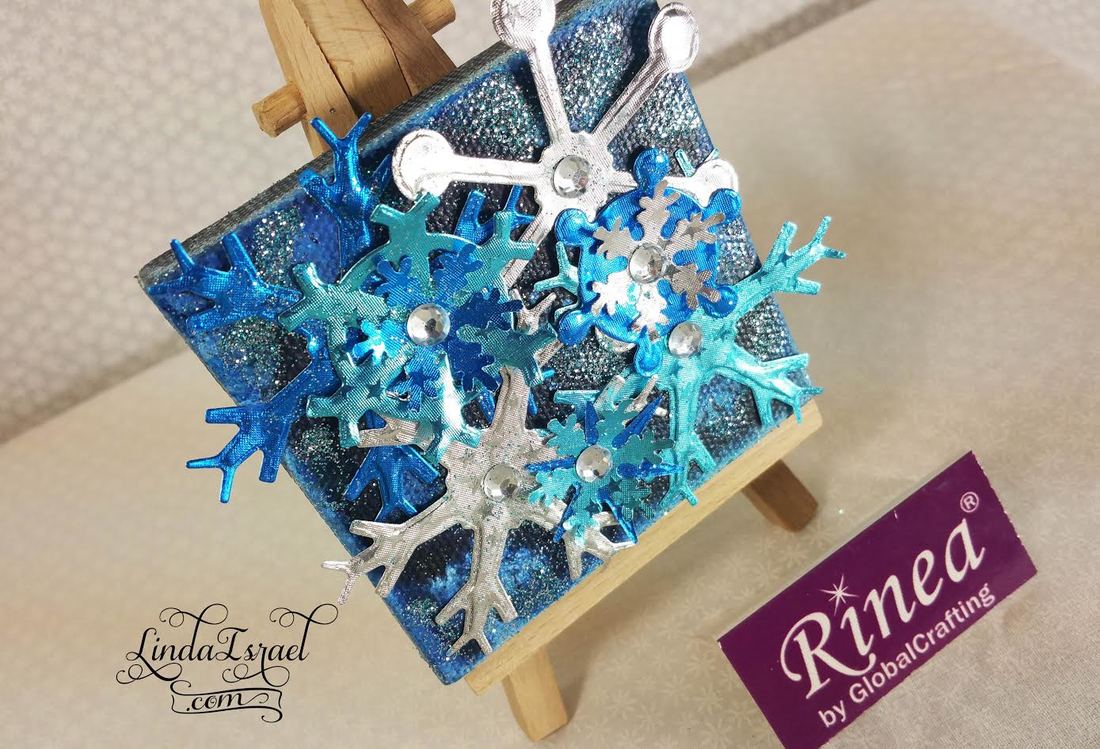
The die cut and punched snowflakes were adhered to the canvas using Adhesive Tech glue. Self adhesive rhinestones were placed in the centers of the snowflakes. But when looking at the mini canvas I decided it needed more Glitter! Using a small flat paint brush I applied glue in a few areas and then sprinkled glitter.
Video of the whole process.
[youtube https://www.youtube.com/watch?v=FKi3vAEr1uI?wmode=opaque]
This mini canvas was then placed on a small easel to be admired. Bringing Snowflakes Inside this winter is much more fun when you don’t have to go outside and brave the cold. Instead you can enjoy the comforts of your home and play with Rinea foil and make snowflakes. That is so much more fun!
Items used:
3 by 3 inch Mini Canvas
Spellbinders Snowflakes
Tim Holtz Vagabond
Snowflake Paper Punch
Glitter Martha Stewart
Tattered Angels Glimmer Mist
Adhesive Tech glue
Flat Paint Brush
Heat Tool
Self adhesive Rhinestones
Easel
3 by 3 inch Mini Canvas
Spellbinders Snowflakes
Tim Holtz Vagabond
Snowflake Paper Punch
Glitter Martha Stewart
Tattered Angels Glimmer Mist
Adhesive Tech glue
Flat Paint Brush
Heat Tool
Self adhesive Rhinestones
Easel
Spark Your Creativity!


