Be Golden by Yolie Burke

Hello, Yolie here today sharing an inspirational card. What better way to encourage a loved one with not only a handmade card, but one with a special message, "Be Golden." Below is the list of supplies you'll need to recreate it, so let's get started.
Supplies:
- Rinea Gold/Gold Glossy Foiled Paper - Crafter's Pack
- Petaloo™ 24pc Blue Cherry Blossom
- Be Golden die, tab dies, doily die
- Manual die cutting machine
- 12" paper trimmer
- (1) 12" x 12" pattern paper
- (2) 8.5" x 11" solid color cardstock
- (1) 6" x 6" solid cardstock
- Hot glue
- Tape runner
- Rhinestones
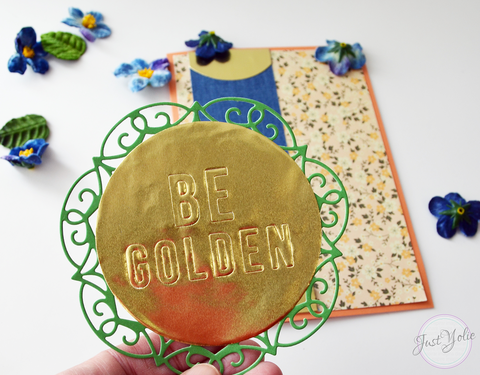
Die cut the tab and the "Be Golden" with Gold/Gold Glossy Foiled Paper. The letters of the "Be Golden" also cut; however, I wanted a faux embossed look, so I carefully removed the die cut and used single sided tape to secure the letters.

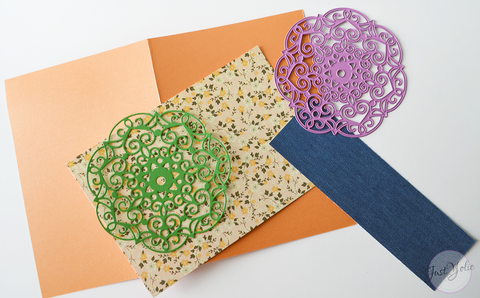
Trim the 8.5" x 11" cardstock to 7" x 10" and score at 5". Next, trim the pattern paper to 4.75" x 6.75", this is the first layer of the card. Use the tape runner and attached it to the front face of the card. Trim a border using the blue denim cardstock, 2" x 6.75". Adhere the Gold tabs to each end and adhere on the left side of the card. One more cut, take the doily die and cut one doily using the green 6" x 6" cardstock.

Use the tape runner to adhere the "Be Golden" die cut to the doily. Then adhere it to the card.

Add hot glue to the back side of the Petaloo™ Cherry Blossoms and scatter them on the left side of the card.

The final step, add the rhinestones among the Cherry Blossoms. The Gold/Gold Glossy Foiled Paper is truly beautiful. I wish you can see how golden it truly is.

I hope you enjoyed my card today.
Thank you for visiting and happy crafting.
Thank you for visiting and happy crafting.
"Be Golden"


