Back To School Fun by Annie

Hello Crafty Friends - Annie here with some fun projects for this year's Teacher!
I know it's that time already - Summer is just flying by. Here in Florida, the children head back to in August. I know that some of your children will be heading back in September.
I thought why not create some projects for the teacher this time and
some for the students on my next post.
Here are the fun projects I created.

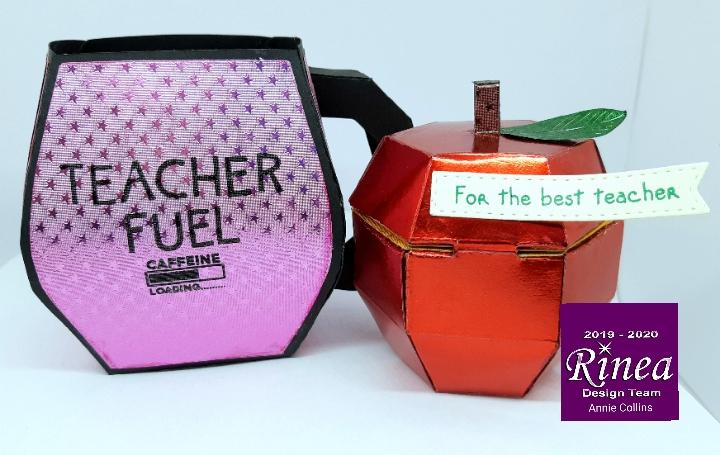
Teacher Fuel Mug
is a paper Mug perfect for giving the teacher some instant coffee or assorted creamers.
Maybe the teacher would prefer some hot cocoa or tea.

I used Rinea Foil Papers, Imagine Crafts Tsukineko StazOn Pigment Ink in Piano Black, along with the Coffee Cup SVG file from Simply Crafty SVGs.
Materials Used:
Coffee Cup SVG file from Simply Crafty SVGs.
Recollections Brand 12x12 Cardstock: Black
3Birds Alpha Stamps
3Birds Coffee Stamp
Aleene's Tacky Glue
Brother Scan n Cut Machine
Mac Book Pro
Let's get started
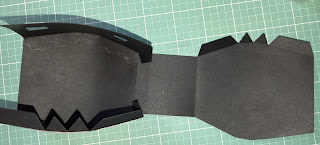
I download the file into my Brother Scan n Cut software and cut the file onto black cardstock. Then, I cut the file onto Rinea Starstruck Blush Foil Paper.

I then stamped my sentiment onto one of the Rinea Starstruck Blush Foil Paper panels. I used Imagine Crafts Tsukineko StazOn Pigment Ink in Piano Black and stamps from 3 Birds.

Next, I followed the instructions that Sandy of Simply Crafty SVGs provided. I start by adhering all the Rinea Foil Paper: Starstruck Blush onto the black panels.

Next, I add some adhesive onto the tabs of the black panels and I adhere it to the next black panel. I continue the process one three of the panels. Making sure to clean off any extra adhesive if needed.


Then, I adhered the last panel. I start on the bottom of the mug. I add some adhesive onto the tab. Next, I place the flat bottom right up against the tab and press into place.


Next, I add some adhesive onto the remaining tabs and place the last panel into place.

Now, for the handle of the mug. It's a bit tricky because of its small tabs. I add a bit of adhesive on to the tabs and press them to the underside of the handle. I repeat the process on the other side.


Next, I put a bit of adhesive onto the tabs on the top and bottom of the handle. I gently place into place and press the tabs against the inside of the mug.


Now - the mug is complete!

For The Best Teacher Apple Box
This cute little box is perfect for a small treat for the teacher.


I didn't do a complete tutorial for this project. I have provided the template I used. I simply adhered the Rinea Foil Paper onto the already printed pattern and stamped the hearts with
Imagine Crafts Tsukineko StazOn Pigment Ink in Piano Black for the apple seeds. I also used Imagine Crafts Tsukineko StazOn Pigment Ink in Shamrock Green for my sentiment.
Materials Used:
Woodware Craft Collection School Tots Stamp Set
Recollections Brand Cardstock: White & Cream
Thank you for stopping by the blog today - I hope you found some inspiration!